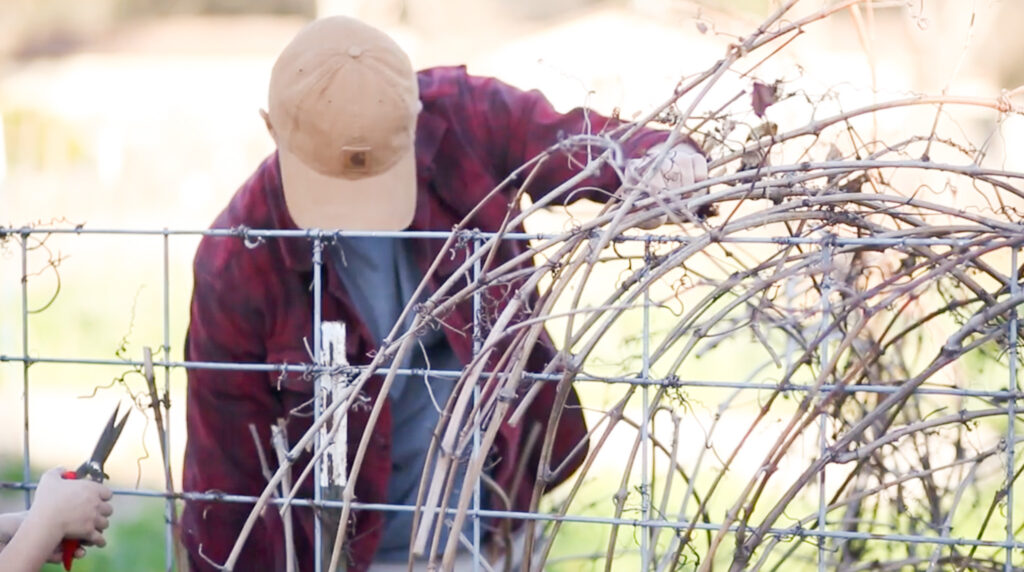
Learn how to make a grapevine wreath right at home! Perfect to use clippings from your home vineyard pruning.
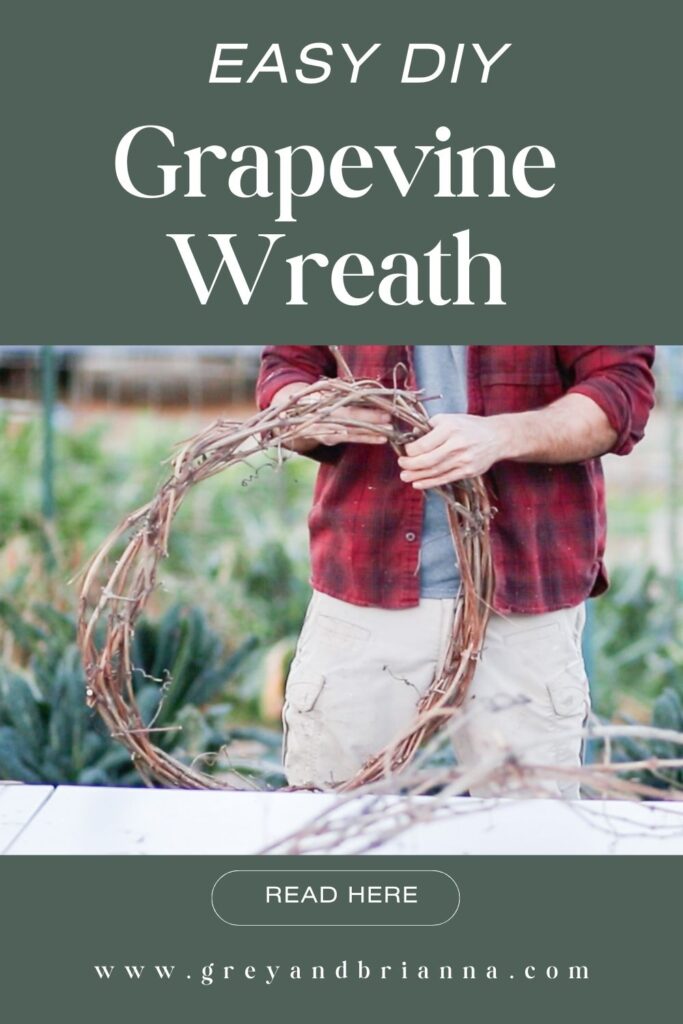
Grapevine wreaths are a classic and versatile decoration, commonly used for a variety of seasons and occasions. They offer a rustic charm that can be customized to fit any style or preference. Making a grapevine wreath is a straightforward craft that requires minimal materials and can be completed in a few steps. This project is not only enjoyable but also provides an opportunity to create a personalized touch for one’s home or as a thoughtful handmade gift.
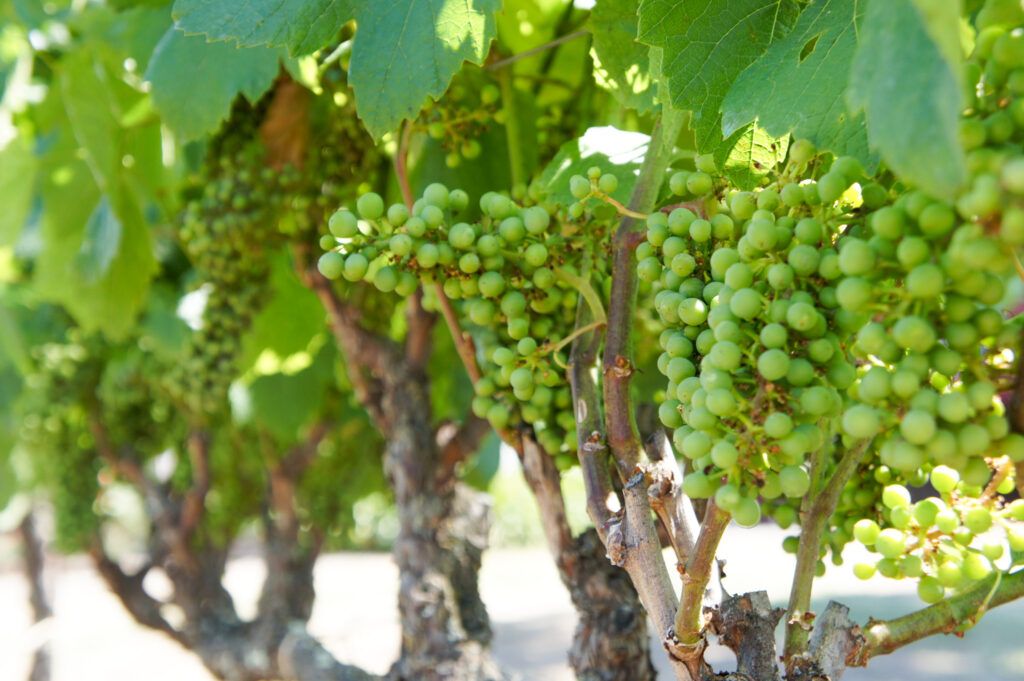
The base of the wreath is simply constructed from grapevine, which can be purchased from craft stores or harvested from your home vineyard, if available, after the grape-growing season. Crafting with grapevines can be quite forgiving, as the vines are pliable and can be easily manipulated into the desired shape. Once the base is formed, the creative process begins with the addition of decorative elements that can range from floral arrangements, fabric ribbons, to various holiday-themed ornaments.
In creating a grapevine wreath, one needs to prepare the vines, secure the form, and then adorn it according to the season or occasion. Whether it’s adding a burst of color with spring blossoms, autumn leaves for a fall theme, or festooning it with ribbon and baubles for the holiday season, the possibilities are endless. The process of making a grapevine wreath is as much about the enjoyment of crafting as it is about the satisfaction of displaying a unique and handcrafted piece.
Materials Needed
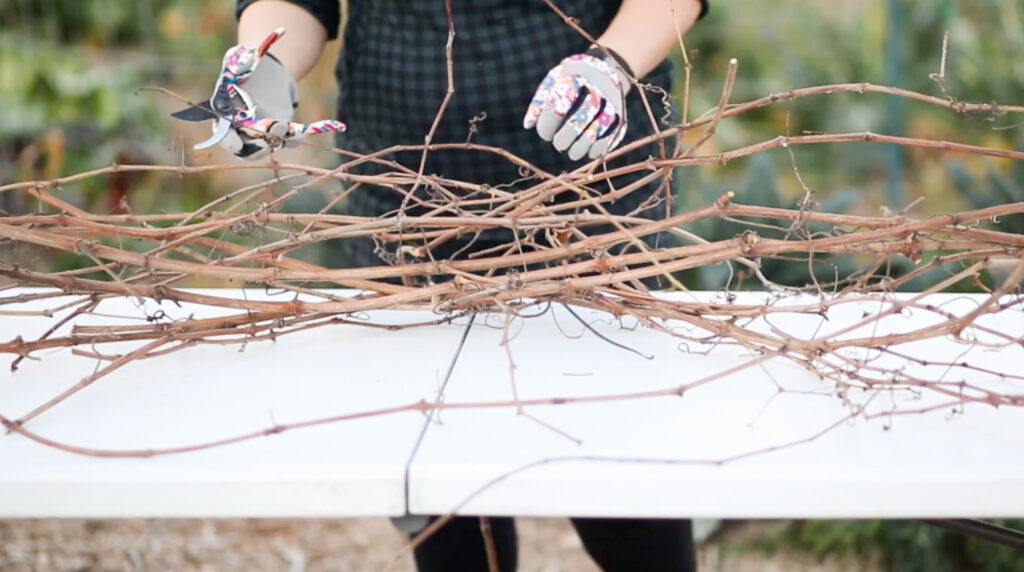
To start making a grapevine wreath, one first needs to gather all the necessary materials. They will need the following items:
Base Materials:
- Grapevines: 6-8 long, flexible vines, each about 4-5 feet in length, preferably freshly cut to ensure pliability
Tools and Supplies:
- Secateurs or Pruning Shears: For cutting the vines to size
- Gloves: To protect the hands while handling vines
- Floral Wire: A thin gauge wire to secure the vines and decorative items
- Wire Cutter: For cutting floral wire
Decorative Elements (Optional):
- Artificial Berries
- Dried Flowers
- Ribbon
- Small Ornaments
Adhesives: (Optional, depending on the design)
- Hot Glue Gun with Glue Sticks: To fix decorations onto the wreath firmly
One should ensure that the grapevines are supple, which makes them easier to bend and twist into a circular wreath shape. If they have access to a vineyard, fresh grapevines can be harvested. Alternatively, craft stores often sell grapevine garlands that can be used. Protective gloves will help prevent scratches and make the process more comfortable, as grapevines can have rough textures. Prior to starting, they should lay out all materials on a flat, clean workspace. This organization will facilitate a smooth wreath-making process.
Selecting the Right Grapevines
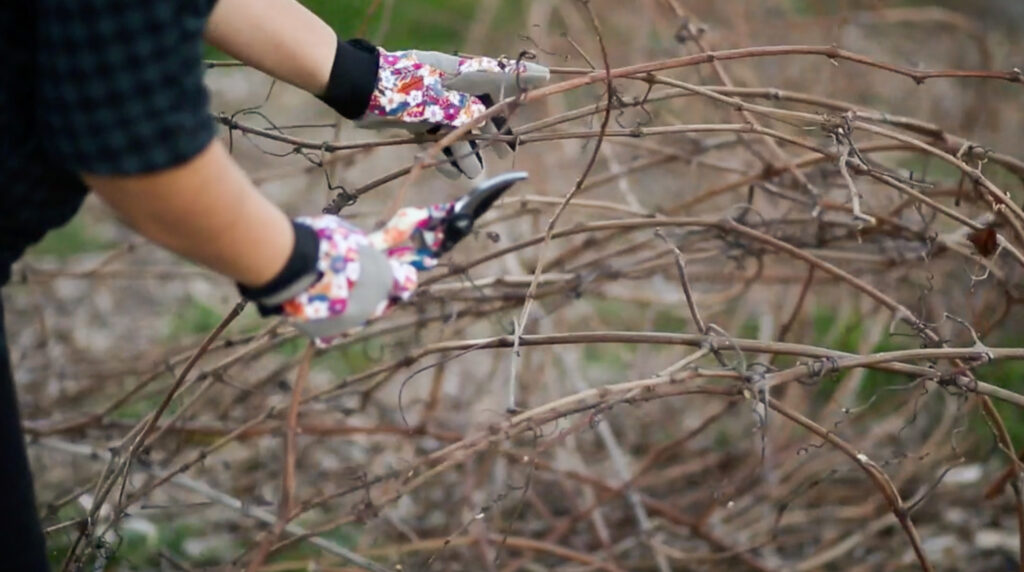
When selecting grapevines for wreath-making, one must consider their flexibility and strength. Fresh, young grapevines are recommended as they bend easily and don’t snap. They should be green to brownish in color indicating a level of maturity while still being pliable.
To identify suitable grapevines, look for the following characteristics:
- Diameter: Aim for vines that are about 1/4 to 1/2 inch in diameter. Thicker vines may be too rigid, while thinner ones could lack the necessary strength.
- Length: Choose long vines, ideally several feet in length, to provide enough material to create a wreath of the desired size.
It is also essential to harvest the grapevines at the right time. Late winter or early spring, when the plants are dormant but the sap is beginning to flow, is ideal. This timing ensures the vines are less likely to crack.
Use the table below to guide your selection:
| Quality | What to Look For |
|---|---|
| Flexibility | Vines that can wrap around your hand easily. |
| Strength | Vines that don’t break when bent. |
| Age | Young, with green to brownish coloring. |
| Diameter | Approximately 1/4 to 1/2 inch. |
| Length | As long as possible for ample material. |
When collecting, gently coil the vines into a loose bundle. This will make them easier to handle and prevent damage. Avoid excessively dry or brittle vines, as they are more likely to break during the wreath-making process.
Preparing the Grapevines
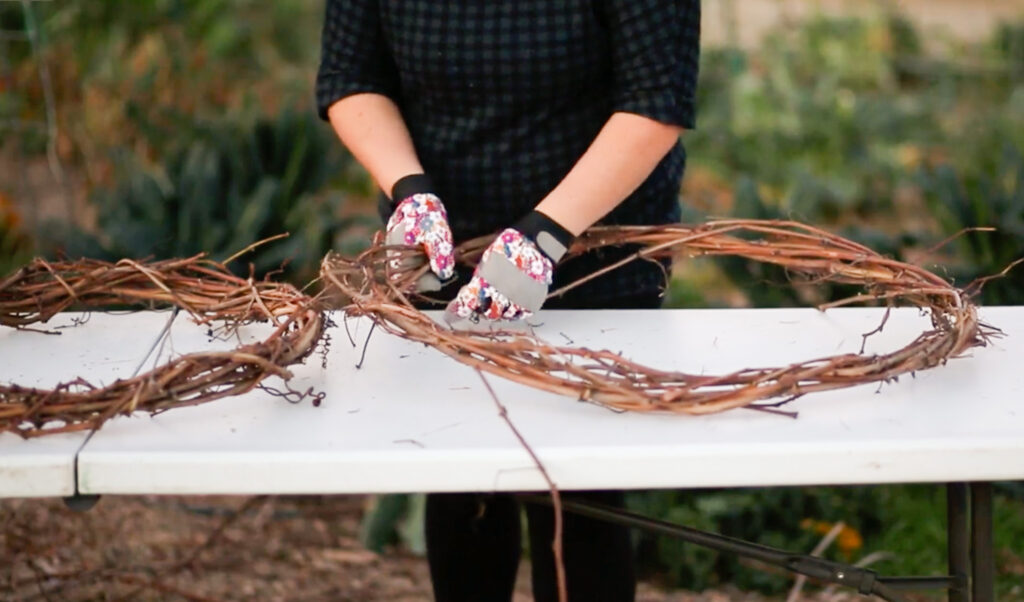
Before starting your grapevine wreath, gather fresh grapevines or purchase them from a craft store. Fresh grapevines are more pliable and easier to work with. It is essential to use materials that are flexible to achieve the best results for your wreath.
- Harvesting:
- Collect grapevines during late winter or early spring when they are dormant and most pliable.
- Choose long, healthy vines and prune using garden shears.
- Cleaning:
- Remove leaves and any side shoots from the vines.
- Rinse the vines with water to eliminate dirt and insects.
- Soaking (if necessary):
- Soak the vines in water overnight if they have dried out or become brittle.
- This process restores pliability, making them easier to bend.
- Coiling:
- Gently twist the vines into loose coils.
- Doing this prevents tangling and prepares the vines for easy use.
Once prepared, one should work with the vines promptly to take advantage of their natural flexibility. Should the vines begin to dry out and stiffen while forming the wreath, they can be misted with water to regain pliability. This step is crucial as brittle vines can snap when bent into a wreath form.
When the grapevines are adequately prepared, they are ready to be crafted into a wreath base. Good preparation ensures a smoother wreath-making process and a more uniform finished product. Remember, the natural look of the grapevines adds rustic charm to the wreath, so slight imperfections add character to the final piece.
Creating the Base Shape
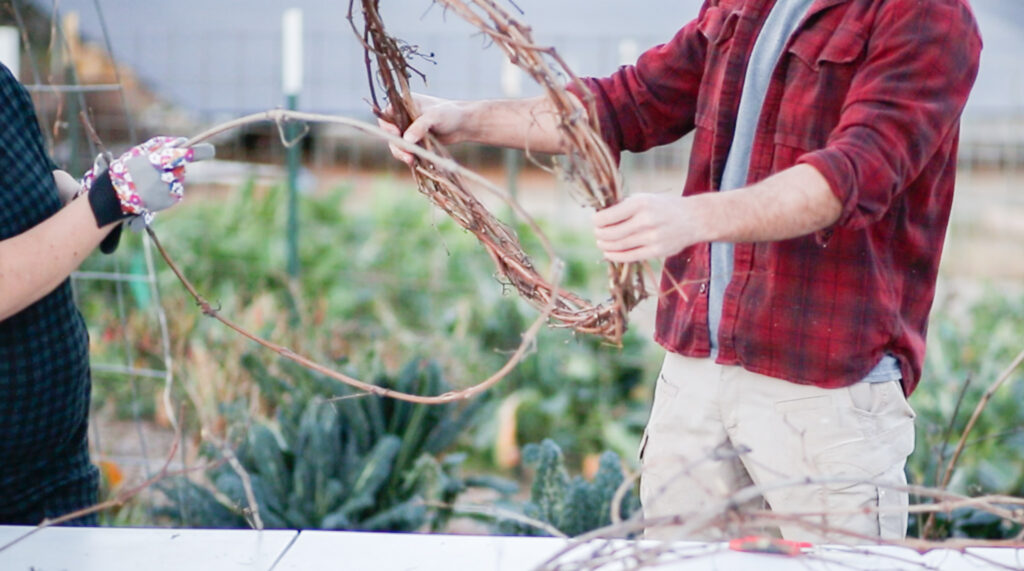
To begin, one needs a sturdy grapevine base. Select long, pliable grapevine strands for easier shaping. Wearing gloves is advisable to protect one’s hands from scratches.
Firstly, one should soak the vines in water for a few hours to increase their flexibility. This makes them easier to twist and prevents breaking. After soaking, the vines should be pliable enough to form the base shape of the wreath.
To create the circular shape:
- Choose a vine segment about 4 to 6 feet in length.
- Wrap the vine into a circle, overlapping the ends.
- Secure the shape by tucking the end of the vine into the loops.
- For added strength, wrap a second vine around the first, following the same steps.
Use floral wire to fix any loose parts or to maintain the circle’s stability. The wire should be tightly twisted around the vines but remain hidden within the wreath base. One can trim any excess wire with wire cutters.
The ideal base diameter is typically 10-12 inches, but this can vary according to personal preference. If the wreath feels too loose or flimsy, additional vines can be woven in to reinforce the structure until desired firmness is achieved. Remember to maintain an even thickness throughout the wreath to ensure uniformity in the final product.
Weaving the Grapevines
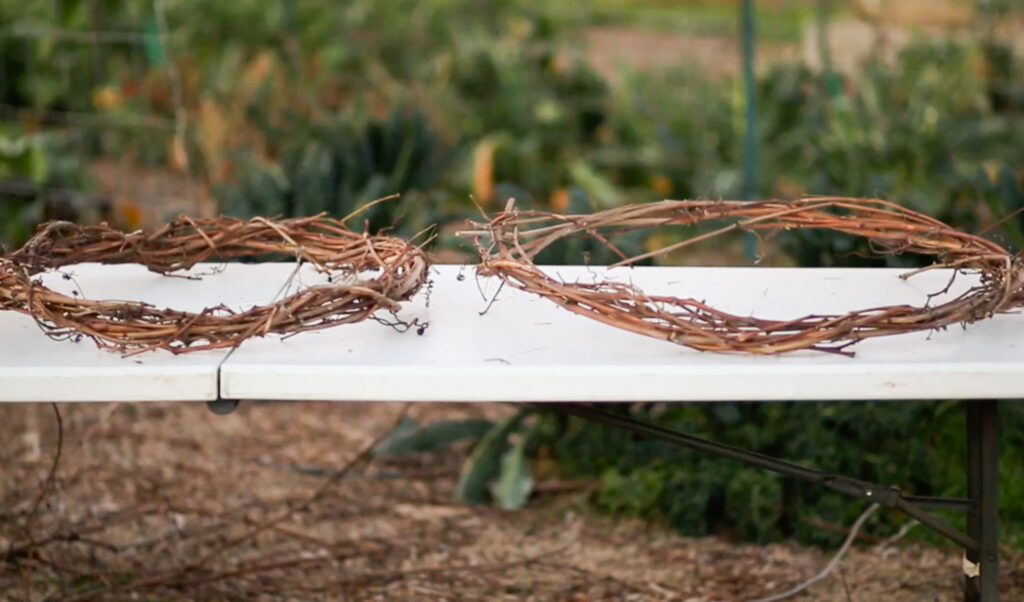
Grapevine wreaths are a popular rustic decoration. To begin weaving, one should select pliable grapevines. These vines are easiest to manipulate without snapping.
- Preparation: Before weaving, soak the grapevines in water for approximately 2-4 hours. This step makes the vines more flexible and reduces breakage.
- Starting the Wreath: Take the longest vine and form it into a circle, overlapping the ends. Secure this circle with floral wire or twine to establish the base of the wreath.
The weaver should continually add vines, weaving them around the initial circle, threading each new one over and under the preceding layer. They must:
- Overlap: Be sure to overlap the vines to add strength and structure.
- Secure: Occasionally fasten with wire, especially after adding several layers.
- Variation: Mix thick and thin vines for textural interest.
- Building Up: As the wreath becomes thicker, the weaver should tuck the ends of vines into the existing layers to maintain a neat appearance.
- Tightness: They must pull each vine tight to avoid a loose, shabby look but should take care to not pull so tight as to snap the vine.
Throughout the process, trimming any stray ends with pruning shears keeps the wreath looking tidy. A grapevine wreath is complete when it has reached the desired thickness and diameter, and it retains its shape when lifted.
Securing the Wreath Structure
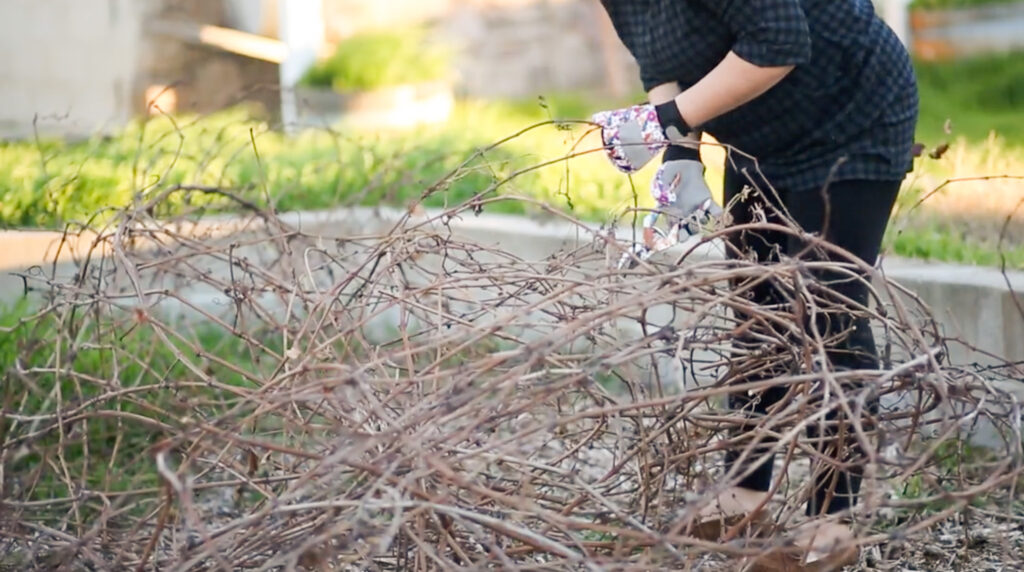
When creating a grapevine wreath, ensuring a robust structure is crucial. It begins with selecting long, flexible grapevines that can be easily wrapped and entwined. These vines serve as the foundation of the structure.
Step 1: Choose Flexible Vines Select vines that bend without breaking. Soak them in water if needed to increase pliability.
Step 2: Form the Base Wrap the vines around a circular frame (such as a wire ring), overlapping each layer to add strength.
| Action | Detail |
|---|---|
| Start | Create a loop with the first vine. |
| Wrap | Intertwine additional vines around the base. |
| Tighten | Pull each wrap snug to the previous layer. |
Step 3: Secure the Ends Tuck the end of each vine into the existing wraps. For extra hold, one can use floral wire to bind the ends.
- Trim Excess: Cut off any excessively long vine ends.
- Check Stability: Gently pull on the structure to ensure everything is tight and secure.
Step 4: Add Reinforcements Strategically place wire across the structure’s back in ‘X’ shapes to reinforce the shape. Attach with small U-shaped staples or more floral wire.
By adhering to these steps, the wreath’s structure will be well-secured and ready for further decoration or display.
Adding Decorations
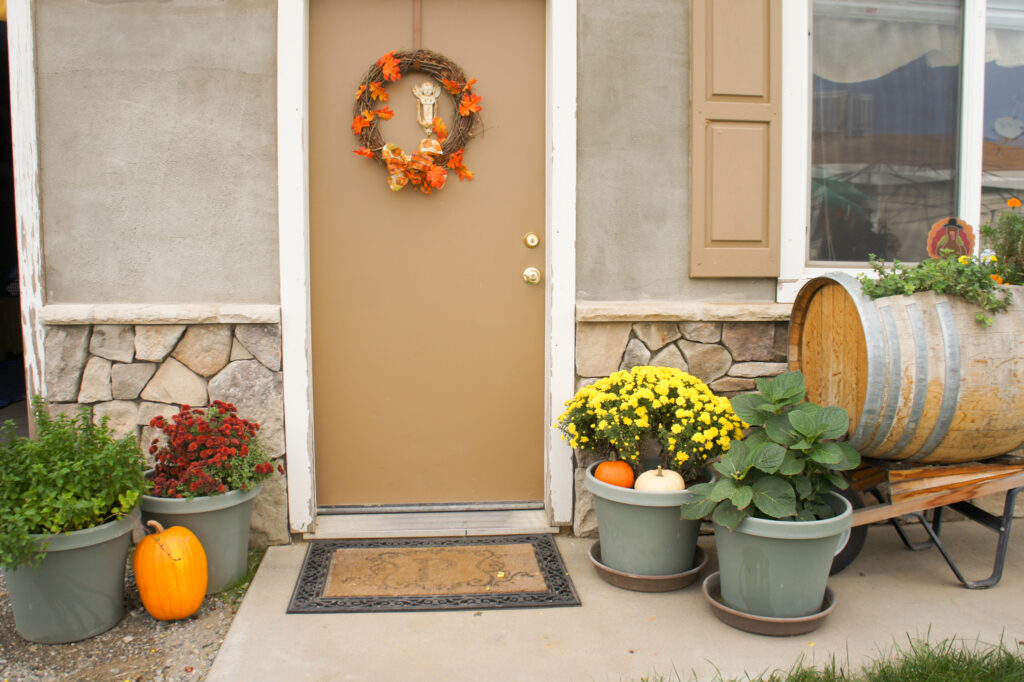
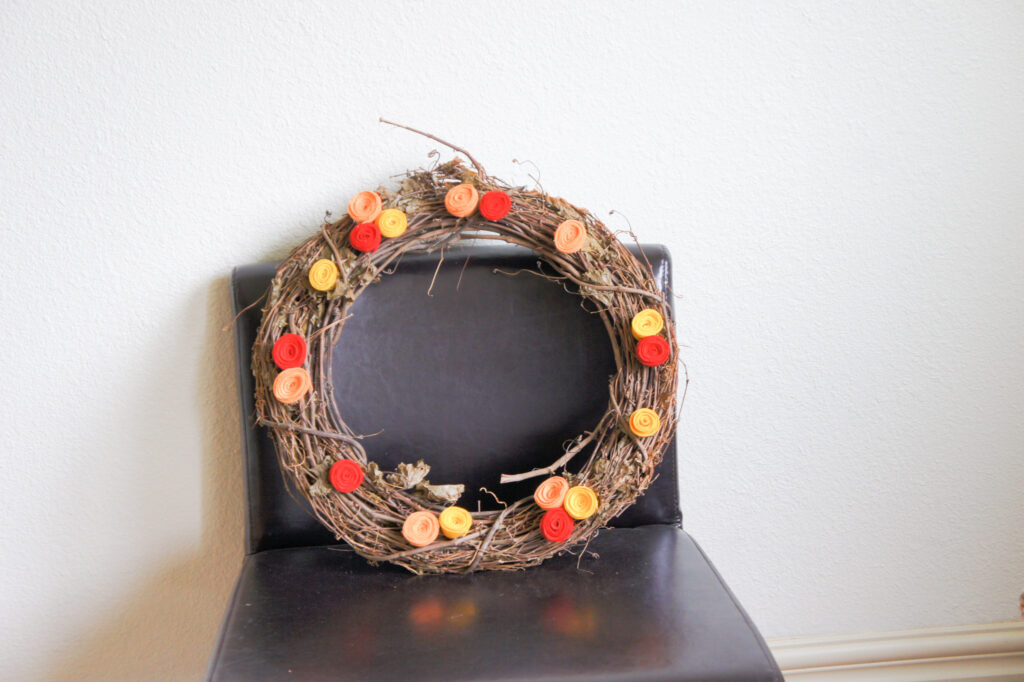
Decorating a grapevine wreath transforms it from a simple ring into a personalized and visually appealing piece. The selection and attachment of decorations are crucial steps.
Choosing Decorative Elements
One should opt for durable, weather-resistant decorations if the wreath will be exposed to the elements. For example:
| Outdoor Elements | Indoor Elements |
|---|---|
| UV-resistant ribbons | Silk flowers |
| Plastic berries | Fragrant dried herbs |
| Metallic ornaments | Ornamental beads |
Consider seasonal themes and color schemes to enhance the grapevine wreath’s aesthetic appeal. For autumn, one might choose:
- Oranges and reds: Incorporate leaves, pumpkins, or pinecones.
- Yellows: Add sunflowers or golden ribbon to evoke a harvest feel.
Attaching Decorations Safely
For the security and integrity of the wreath, it’s important to use the right tools and methods. Lightweight items can be affixed using:
- Hot glue guns: Ideal for a strong, immediate hold.
- Floral wire: Provides a secure tie that can be hidden within the vines.
Heavier items require additional support. One could:
- Wrap thicker floral wire around the base of the decoration and the wreath.
- Utilize a zip tie for a firm fixation, trimming the excess for cleanliness.
Testing decorations by gently shaking the wreath ensures they are securely attached and will remain in place.
Hanging the Grapevine Wreath
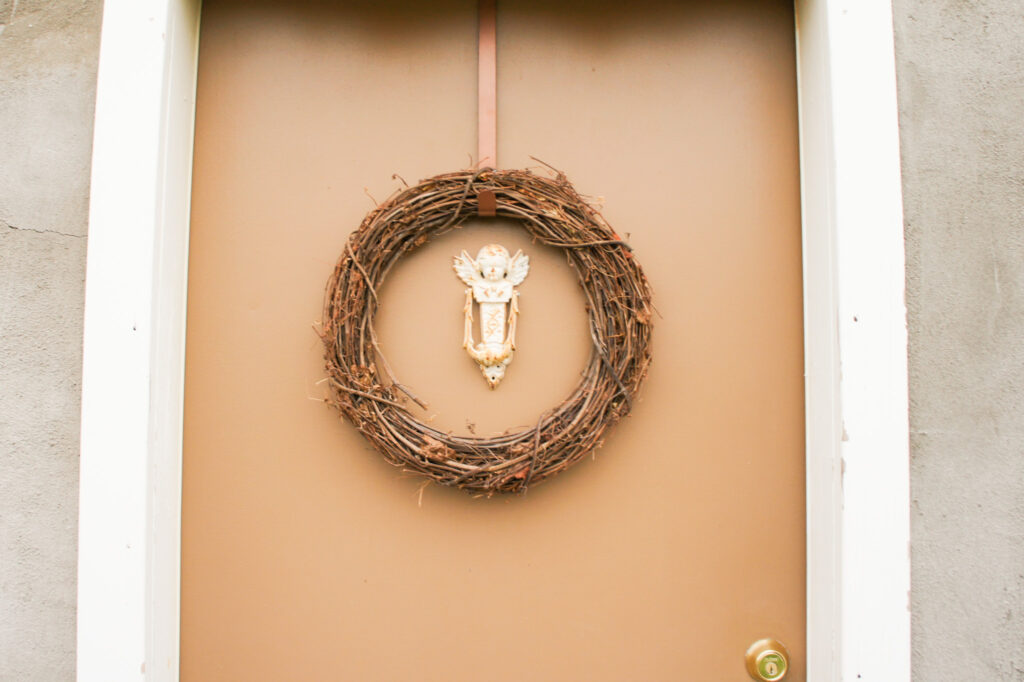
Once the grapevine wreath is completed, proper hanging ensures it is displayed attractively and securely. The method and materials for hanging will vary depending on the wreath’s size and the hanging surface.
- Nails or Hooks: For most walls, a sturdy nail or a hook is sufficient. If the wreath is large or heavy, selecting a hanger able to support its weight is crucial. One may consider using an anchor for additional support on drywall.
- Wreath Hanger: Over-the-door wreath hangers offer a non-invasive option. They come in various finishes to match decor and are ideal for displaying wreaths on doors without leaving marks or holes.
- Ribbon or Fishing Line: For a more decorative approach, use a length of ribbon or clear fishing line. Secure the material to the back of the wreath and create a loop to hang from nails or hooks. This option allows adjustments to the wreath’s hanging height.
- Suction Cup Hangers: When hanging a wreath on glass surfaces, a suction cup hanger is effective. Ensure both the glass and the suction cup are clean before application to enhance grip.
- Command Strips: For a damage-free option, especially on rented property, Command strips designed for wreaths can be a viable alternative. Follow the manufacturer’s instructions for the best results.
For outdoor display, consider the wreath’s exposure to elements. Use materials resistant to weathering and position the wreath in a sheltered area if possible. Checking the wreath periodically ensures it remains securely in place and maintains its appearance.
Maintenance and Care
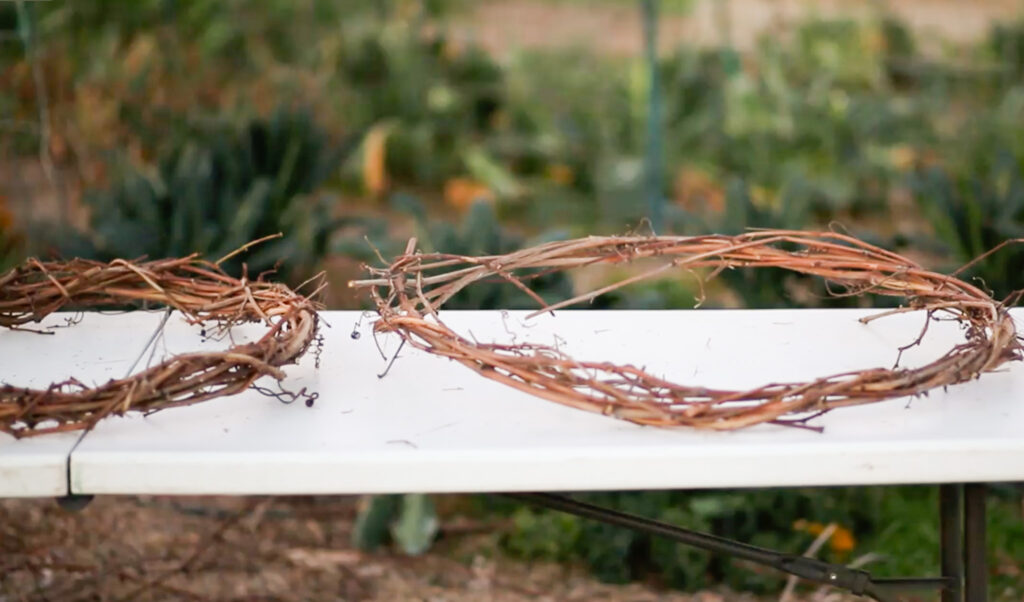
To ensure the longevity of a grapevine wreath, proper maintenance and care are imperative. A grapevine wreath is relatively sturdy, but like any natural product, it can deteriorate over time if not cared for correctly.
Location: Position the wreath in a location where it is protected from harsh weather conditions. Direct sunlight can fade the colors, and rain can cause mold growth.
Indoors:
- Ideal: Hang it on interior walls away from direct sunlight.
- Caution: Avoid high humidity areas like bathrooms.
Outdoors:
- Sheltered spots, such as covered porches, are best.
- Avoid direct contact with rain or snow.
Cleaning: Regular dusting helps preserve the wreath’s appearance. Utilize a soft brush or a hairdryer on a cool, low setting to remove dust.
| Frequency | Tool | Note |
|---|---|---|
| Weekly | Soft brush | Gently brush to dislodge dust and debris. |
| Monthly | Hairdryer | Use cool setting to blow away dust. |
Storage: When the wreath is not in use, store it in a cool, dry place. A cardboard box or a wreath storage bag is perfect to prevent dust accumulation and to maintain its shape. Cushion it with tissue paper to avoid compression of any decorative elements.
Handling: Be gentle when moving or cleaning the wreath as the vines can break if bent too roughly.
By following these care guidelines, one can ensure the grapevine wreath stays in optimal condition for years to come. Regular maintenance preserves both its natural beauty and its structural integrity.
Seasonal Adaptations

Adapting a grapevine wreath for the changing seasons involves adding season-specific decorations and themes. Attention to detail can transform a simple wreath into a seasonally appropriate accent for a home or event.
Spring Themed Decor
To embrace the freshness of spring, one should incorporate pastel florals and light green foliage to their grapevine wreath. Adding elements such as tulips, daffodils, and forsythia can evoke a feeling of renewal.
- Flowers: Tulips, Daffodils, Forsythia
- Foliage: Light green leaves, Ferns, Moss
Summer Style Tips
For summer, the addition of vibrant flowers and sun-themed accessories complement the grapevine’s natural look. It’s best to use heat-resistant materials, as they will fare better in the summer sun.
- Flowers: Sunflowers, Zinnias, Daisies
- Accessories: Miniature Suns, Seashells
Autumn Accents
Autumn grapevine wreaths flourish with deep reds, oranges, and yellows interspersed with seasonal items like pineconesand acorns. Dried leaves and burlap ribbons add a rustic touch.
- Colors: Maroon, Orange, Gold
- Textures: Pinecones, Acorns, Dried Leaves
Winter Wonderland Inspirations
Winter wreaths showcase icy blues and silvery whites, often adorned with sparkling ornaments and faux snow. Sprigs of holly and berry clusters offer a pop of color against wintry elements.
- Colors: Blue, White, Silver
- Embellishments: Ornaments, Faux snow, Holly berries
Frequently Asked Questions
The following FAQs provide specific guidance on creating grapevine wreaths, detailing the materials, techniques, and tips for crafting and decorating them throughout the seasons.
What materials are needed to create a grapevine wreath with ribbon accents?
To make a grapevine wreath with ribbon accents, one will need fresh or dried grapevines, florist wire, wire cutters, and the desired ribbon. Optional materials include floral tape and additional decorative elements such as faux flowers or greenery.
Can you provide detailed steps for crafting a simple grapevine wreath?
Crafting a simple grapevine wreath involves gathering several long, flexible grapevines and coiling them into a circular shape. Secure the shape by tucking the vine ends into the wreath or using florist wire. To finish, trim any protruding pieces to create a neat appearance.
What techniques are best for adding floral decorations to a grapevine wreath?
When adding floral decorations, thread the stem of each flower through the vines, and secure with florist wire if needed. It is beneficial to arrange the flowers before attaching them to ensure an even distribution and aesthetically pleasing design.
How should grapevines be prepared or treated before weaving them into a wreath?
Grapevines should be cleaned and soaked in water for several hours to increase pliability. After soaking, pat the vines dry with a towel before weaving into a wreath. This treatment makes the vines easier to shape without breaking.
What are some effective ways to decorate a grapevine wreath for different seasons?
To decorate a grapevine wreath seasonally, incorporate elements such as spring flowers, summer fruits, autumn leaves, or winter evergreens and berries. Choose colors and textures that evoke the current season for a harmonious design.
How can you ensure a grapevine wreath maintains its shape and longevity?
To maintain shape and longevity, use sturdy grapevines and weave tightly when forming the wreath. Display the wreath away from direct sunlight and extreme weather to prevent fading and damage. Periodically dust and repair any loose elements to keep the wreath looking fresh.
Related Articles:
How to Make Freeze Dried Grapes
Pin it for Later!


Leave a Reply