Learn the basics of building a chicken tractor which allows chickens to access fresh pasture regularly, while benefiting the soil!

Raising backyard chickens has become an increasingly popular endeavor among those seeking to connect with sustainable living practices. A chicken tractor is an innovative solution that aligns with this ethos, providing poultry with fresh forage while naturally fertilizing the land. Essentially, it is a mobile coop that can be moved across a yard or field, offering chickens access to different areas without permanent fencing. This system not only enriches the soil but also allows the chickens to engage in their natural behaviors, resulting in healthier flocks and, for many, more nutritious eggs.
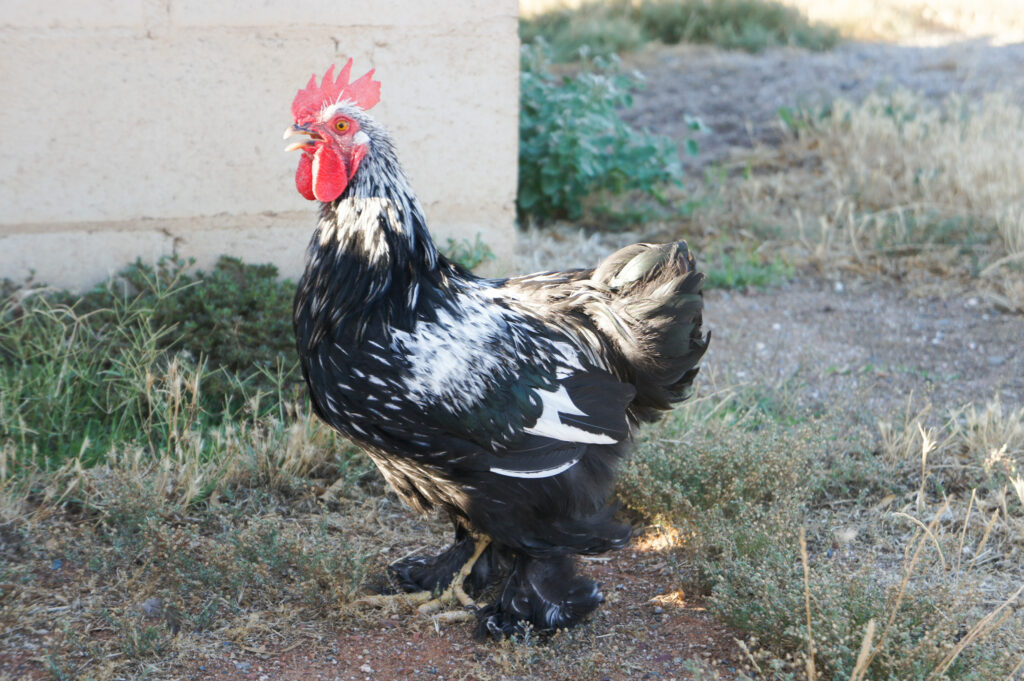
Constructing a chicken tractor requires careful planning and consideration of materials, size, and mobility. The structure must be sturdy enough to protect chickens from predators yet light enough to move easily.
Understanding Chicken Tractors
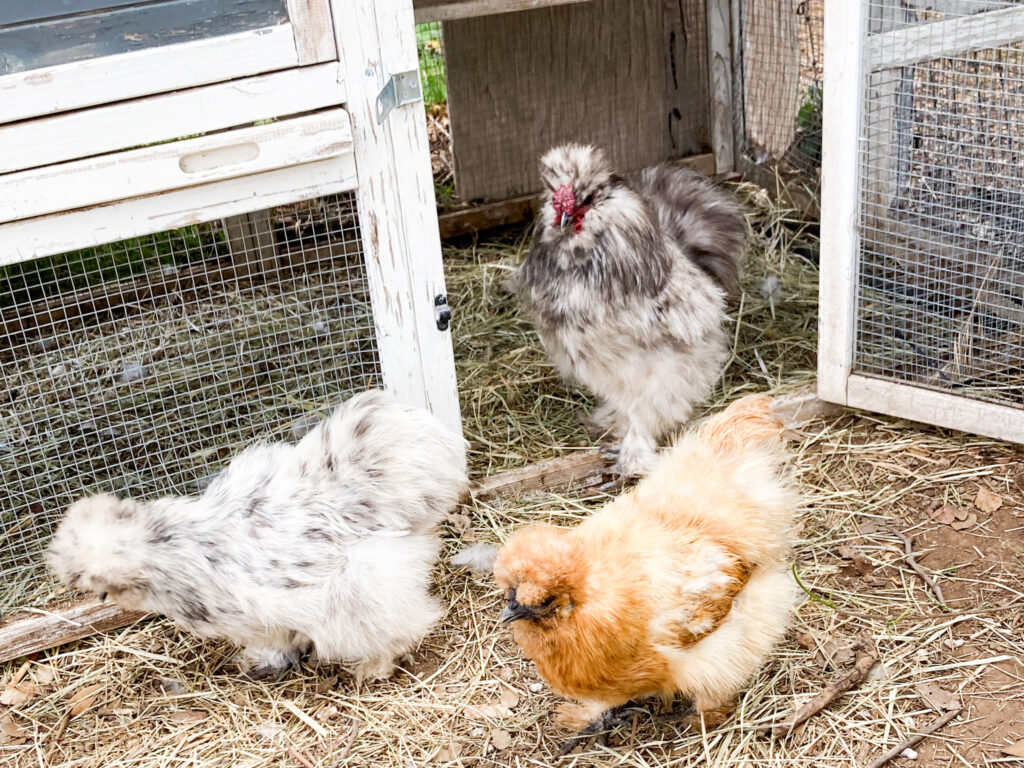
Chicken tractors are a movable chicken coop without a floor, combining housing and free-ranging benefits. They allow chickens to access fresh pasture regularly, controlling pests and fertilizing the soil.
Benefits of Using Chicken Tractors
Mobility: A primary advantage of chicken tractors is their movability. Owners can easily relocate them across the pasture, ensuring birds have continuous access to fresh ground. Moving chicken tractors prevents the over-concentration of manure in one area, reducing the risk of soil nutrient overload and disease spread among the flock.
Pest Control and Fertilization: As chickens graze, they consume insects and pests, which helps to naturally control pest populations. Their foraging action also turns over the soil, and their droppings act as a direct source of fertilizer, improving soil quality and nutrient content.
Key Concepts and Terminology
Chicken Tractor: A portable enclosure for raising chickens that combines housing with direct access to fresh pasture.
Pasture Rotation: The practice of moving the chicken tractor to different areas to distribute grazing and fertilization evenly.
| Term | Definition |
|---|---|
| Chicken Tractor | A movable coop allowing chickens to graze on fresh land |
| Pasture Rotation | Regularly moving the tractor for even land use |
Designing Your Chicken Tractor

Designing a chicken tractor involves careful consideration of size, materials, and mobility to create a functional and efficient space for chickens.
Determining Size and Capacity
One must establish the dimensions and capacity of the chicken tractor based on the number of chickens and the space available. Each chicken requires 2-3 square feet of space inside the tractor to ensure enough room for movement, feeding, and nesting. For example, a flock of 6 chickens would need a 12-18 square foot tractor.
Selecting Materials
The choice of materials impacts the durability and weight of the chicken tractor. Common materials include:
- Wood: Sturdy but can be heavy.
- PVC pipes: Lightweight and easy to move, though less durable.
- Wire mesh: Necessary for ventilation and protection against predators.
- Metal roofing: Provides shelter and shade.
One should ensure that all materials are non-toxic and safe for chickens.
Considering Mobility and Access
A chicken tractor must be mobile, allowing it to move across different areas of land. Features to consider:
- Wheels: Attached to one end for easier movement.
- Handles: Strategically placed for lifting and dragging.
- Doors: For easy access to feed and water the chickens, and for collecting eggs.
Incorporating these features promotes the health of the chickens by providing fresh ground and reduces the labor needed for moving the tractor.
Building the Framework
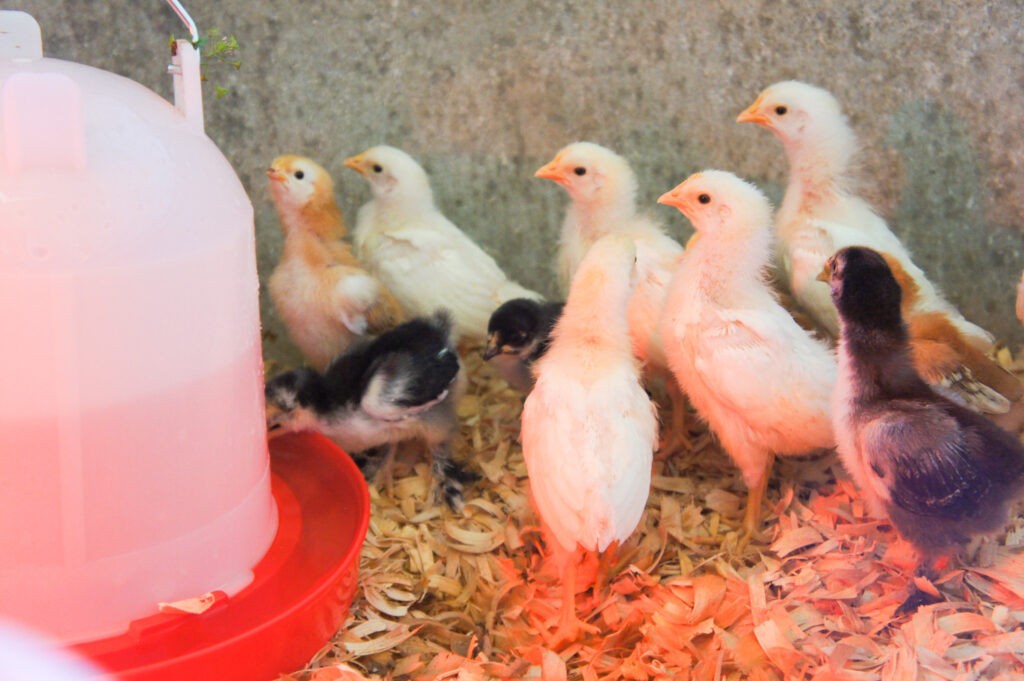
Effective construction of a chicken tractor’s framework ensures both the safety of the chickens and the structure’s portability. It’s important to select durable materials and create a design that’s manageable in size and weight.
Constructing the Base
The base of a chicken tractor serves as the foundation, providing support and shape to the entire structure. For constructing the base, one will need:
- Lumber: 2x4s for the frame.
- Dimensions: The base typically measures 4×8 feet, allowing for ample space.
Steps:
- Cut four pieces of 2x4s to the desired size.
- Assemble in a rectangular shape using galvanized screws for durability.
Erecting the Structure
Upon completing the base, one must erect the vertical framework to support the chicken tractor’s shape and roof. This stage involves:
- Vertical Supports: Four 2x2s cut to a height of 2-3 feet.
- Fastening: Secure these uprights at the corners of the base using angle brackets.
Process:
- Position each 2×2 vertically at each corner.
- Attach using screws, ensuring they are plumb.
Adding Support and Stabilization
For structural integrity and to endure various weather conditions, additional support and stabilization are imperative. This involves:
- Cross Bracing: Use 1x4s to brace corners diagonally.
- Horizontal Supports: Place 2x2s horizontally between vertical uprights.
Implementation:
- Cut and affix diagonal braces with screws, evenly distributing pressure.
- Install horizontal supports midway up the vertical uprights for added rigidity.
Assembling the Enclosure
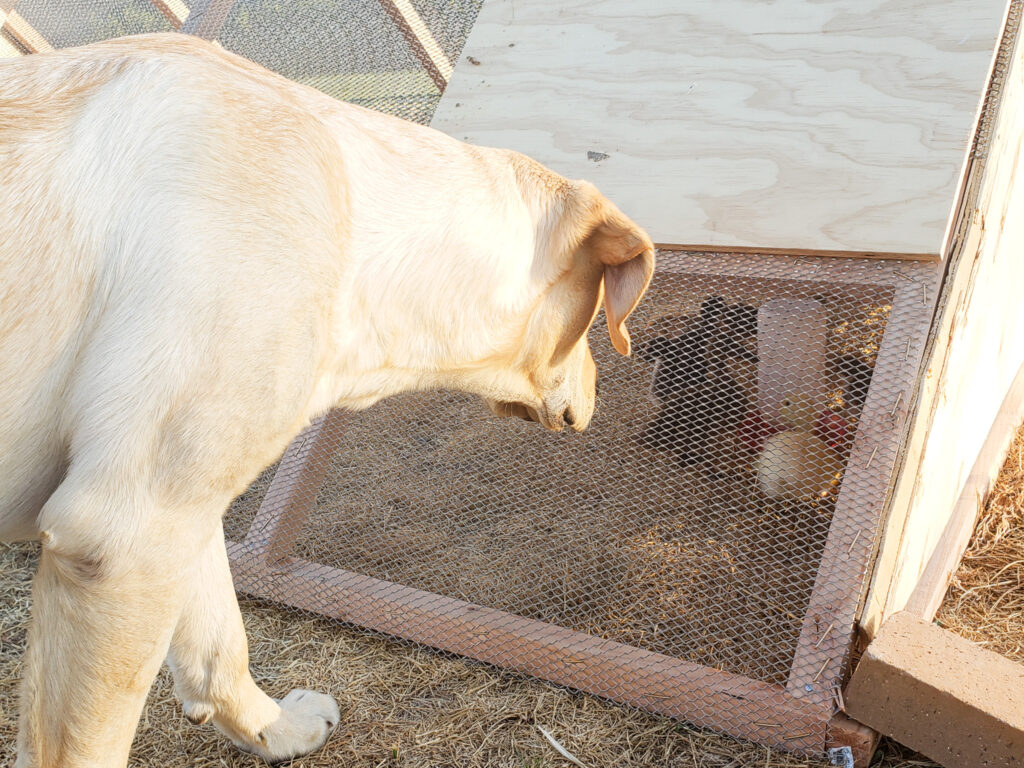
When building a chicken tractor, assembling the enclosure correctly is crucial. It ensures the safety of the chickens and the durability of the structure. Proper installation of mesh and arrangements for roosting and nesting areas are fundamental.
Installing Fencing and Mesh
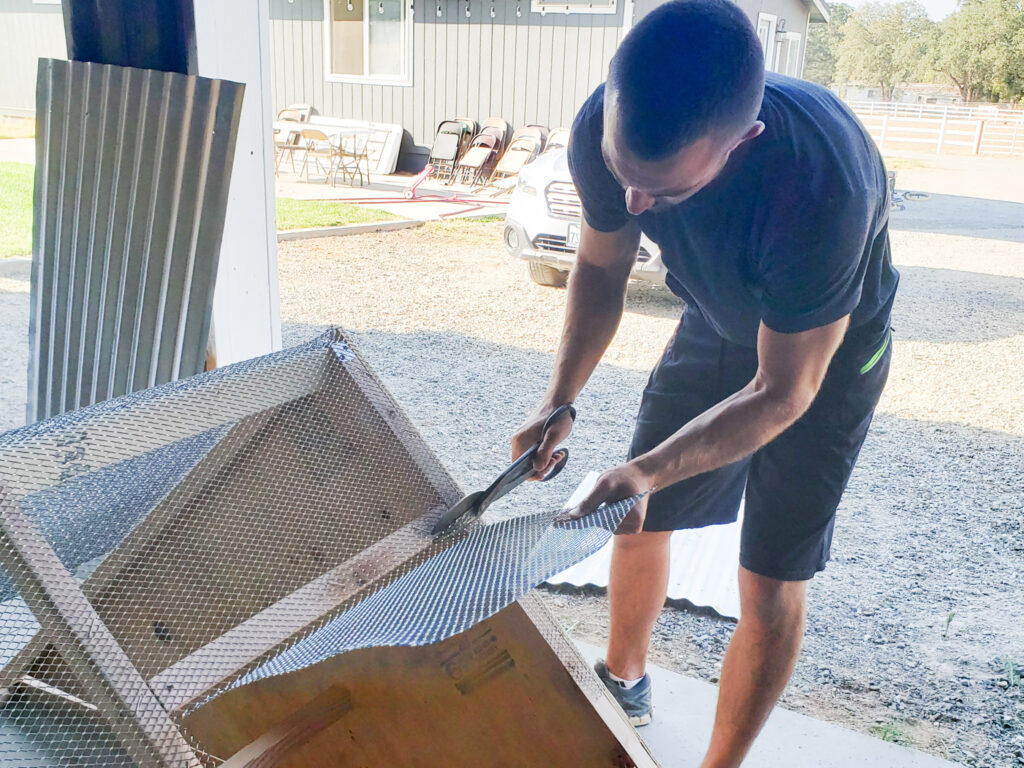
The integrity of a chicken tractor hinges upon its capacity to protect chickens from predators. One must opt for hardware cloth or chicken wire with strong gauges that resist cutting and tearing.
- Materials Needed:
- Hardware cloth or chicken wire
- Staples or U-nails
- Staple gun or hammer
- Wire cutters
Steps:
- Cut the mesh to size, ensuring it covers all sides of the frame.
- Attach the mesh to the frame using staples or U-nails at 6-inch intervals.
- Confirm that there are no sharp edges exposed that could harm the chickens.
Incorporating Roosting and Nesting Areas
Chickens require dedicated spaces for sleeping and laying eggs within the enclosure.
- Materials for Roosting Bars:
- Wooden dowels or 2×4 lumber
- Saw
- Screws
- Drill
Roosting Area Assembly:
- Cut the lumber to length; typically, 8-12 inches of roosting space per bird is recommended.
- Securely mount the bars horizontally at different heights to accommodate hierarchical roosting preferences.
- Materials for Nesting Boxes:
- Plywood or sturdy containers
- Straw or shavings
- Screws
- Drill
Nesting Area Assembly:
- Construct or repurpose boxes ensuring they are large enough for the chickens to stand and turn around comfortably (typically 12x12x12 inches).
- Place them in a quiet corner of the tractor, lining with straw or shavings for comfort.
- Install the boxes at a height that prevents eggs from being trampled.
Adding Features for Chicken Welfare
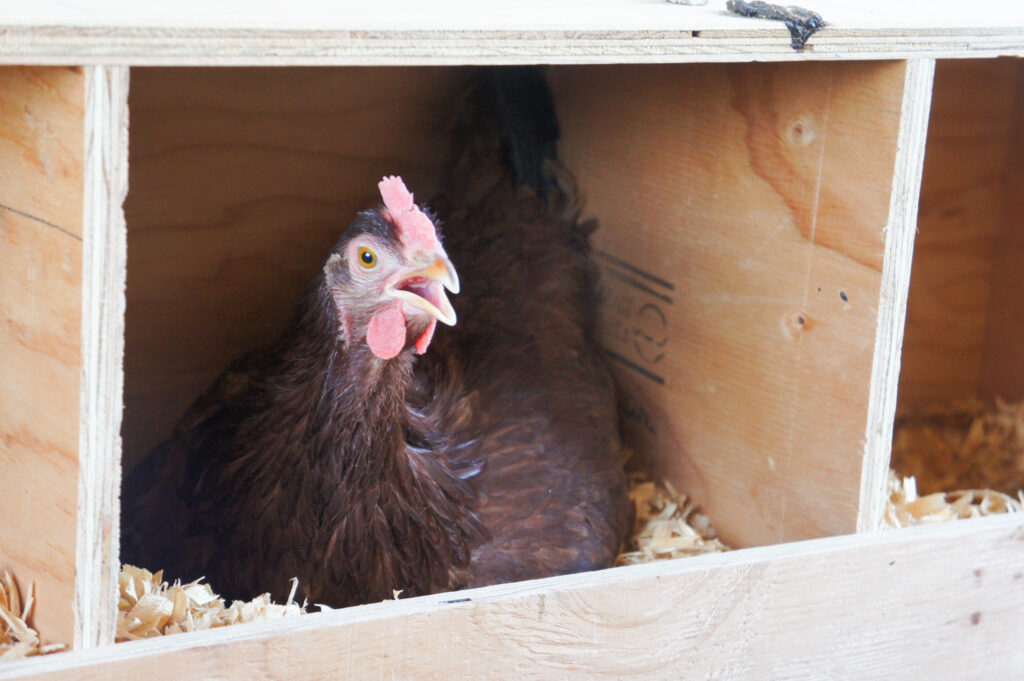
Enhancements to a chicken tractor must prioritize the well-being of the chickens. Features that provide proper ventilation and adequate shelter are essential for their health and productivity.
Ensuring Adequate Ventilation
Ventilation is crucial to dispel moisture, ammonia, and heat from the chicken tractor. Key considerations include:
- Airflow: Mesh-covered windows or vents should be distributed evenly to maintain fresh air flow while preventing drafts. Windows can be designed to be adjustable to adapt to different weather conditions.
- Placement: Vents should be located high up, as warm air rises and carries away moisture and ammonia effectively.
Providing Shade and Shelter
Offering protection from the elements is essential for the chickens’ comfort and safety.
- Shade: A portion of the roof should be solid, providing continuous shade. Materials like metal or wooden sheeting can block direct sunlight.
- Shelter: The structure should include areas that protect the chickens from rain and wind. The use of weatherproof materials on the sides of the tractor can shield the flock from harsh weather.
In conclusion, a well-designed chicken tractor with appropriate ventilation and shelter can significantly enhance the welfare of chickens.
Finishing Touches on Building a Chicken Tractor
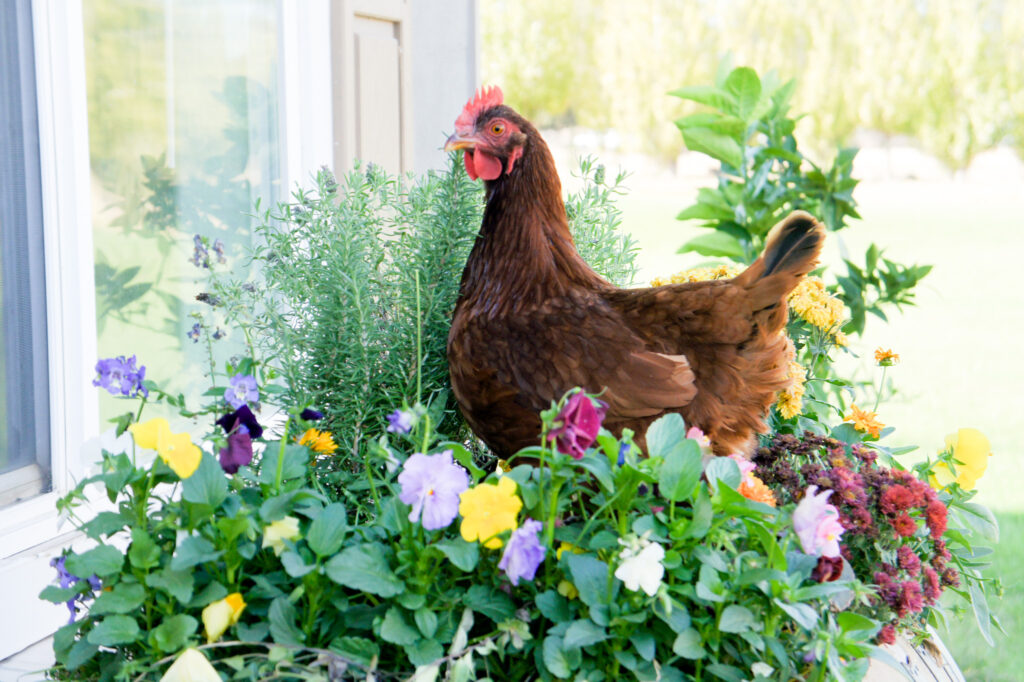
The functionality and mobility of a chicken tractor are greatly enhanced during the final steps of construction.
Attaching Wheels or Skids
Wheels: For movable chicken tractors, wheels are essential. They should be installed on one end of the frame, and it is recommended to use at least 8-inch diameter wheels to ease movement across uneven terrain. Attach the wheels using heavy-duty bolts and ensure they can support the weight of the structure.
- Axle Placement: Attach the axle firmly towards the rear end for balance.
- Wheel Type: Pneumatic wheels offer better shock absorption.
Skids: An alternative to wheels, skids can be made from durable materials such as metal or treated wood. They should be attached along the length of the tractor’s base to allow for dragging over grass without damaging the unit or the landscape.
- Skid Material: Treated 2×4 lumber or metal piping.
- Attachment: Secure with bolts or heavy-duty screws to the base frame.
Installing Feeders and Waterers
Feeders and waterers must be accessible to chickens yet secure enough to prevent spillage and waste.
Feeders:
- Placement: Hang or mount feeders at back height of the chickens to discourage scattering of feed.
- Capacity: Choose a size that holds enough food for all birds for at least one day.
| Material | Advantages |
|---|---|
| Galvanized | Durable, resistant to rust |
| Plastic | Lightweight, easy to clean |
Waterers:
- Design: Opt for designs that limit water spillage. Nipple or cup waterers are effective in keeping the water clean.
- Height: Set at the bird’s shoulder level to ensure comfortable access without stooping or reaching.
Note: Regular checks are necessary to refill and clean feeders and waterers, ensuring the health and productivity of the flock.
Maintenance and Upkeep
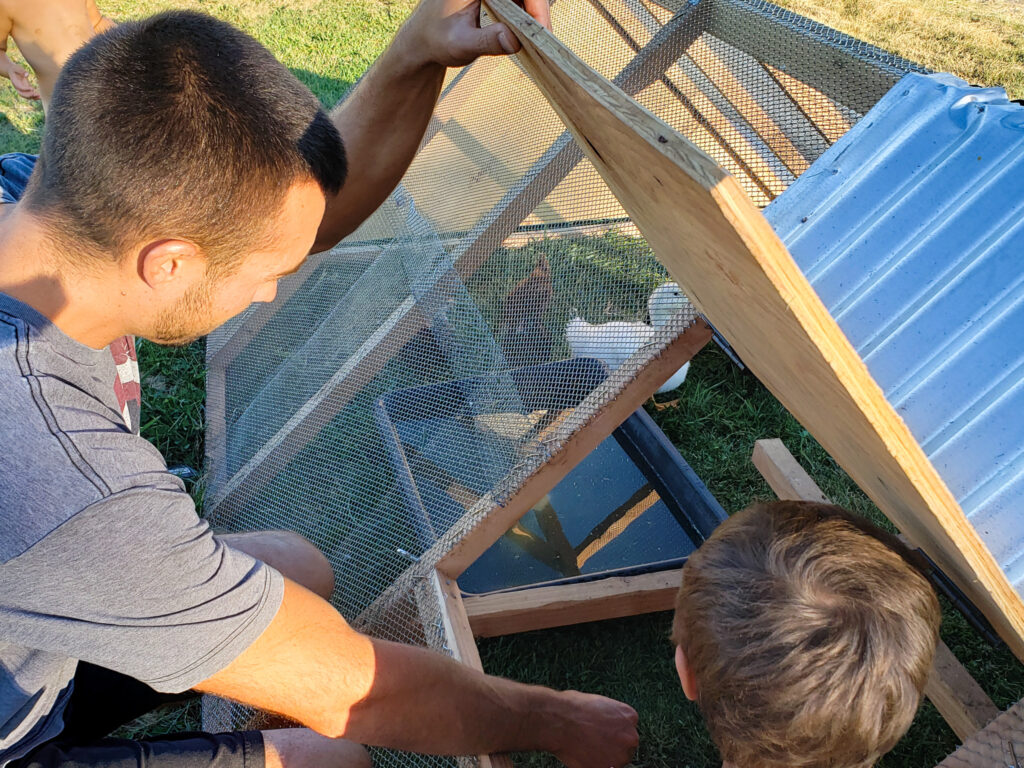
Effective maintenance and upkeep are essential for the longevity of a chicken tractor and the health of its inhabitants. Specifically, focusing on cleanliness and timely repairs can prevent disease and structural damage.
Cleaning and Sanitation
Regular cleaning is crucial to maintaining the chicken tractor. The following items should be addressed on a weekly basis:
- Flooring: Remove and replace bedding material.
- Feeding and Watering Equipment: Wash and disinfect feeders and water containers.
- Nesting Boxes: Clean out old bedding and replace with fresh material.
Monthly deep cleaning should also occur, which includes:
- Surfaces: Scrubbing down all surfaces with a mild disinfectant.
- Interior Space: Clearing cobwebs and checking for parasites like mites.
- Exterior: Checking for and cleaning any waste or mud build-up.
Regular Inspections and Repairs
Inspecting the chicken tractor regularly ensures early detection of potential issues. Key areas to inspect include:
- Roof: Check for leaks or damage.
- Wheels and Mobility Components: Ensure they are functioning correctly for safe movement.
- Doors and Latches: Confirm they are secure to prevent predator access.
Immediate repairs should be made when issues are discovered. Record keeping of inspections and repairs will help monitor the chicken tractor’s condition over time.
Mobilizing Your Chicken Tractor
Mobilizing a chicken tractor ensures your flock can forage fresh ground regularly while maintaining a secure environment.
Training Chickens to the Tractor
To acclimate chickens to their tractor, one should begin by placing them in the tractor for short periods during the day. Over time, extend the duration until they are comfortable overnight. It’s important to observe and ensure they have access to food, water, and shade. Familiarizing chickens with their tractor can be facilitated by:
- Feeding Inside: Always provide their feed within the tractor.
- Consistent Routine: Move the tractor at the same time daily to create a routine.
By following a structured approach, chickens will associate the tractor with safety and resources.
Safe Relocation Practices
Relocating the tractor should be done with care to avoid injuring the chickens or damaging the structure. Before moving:
- Secure Chickens: Ensure all chickens are inside and not in the path of wheels or moving parts.
- Inspect the Path: Check for obstacles or hazards in the tractor’s path.
When undertaking the move, it’s crucial to:
- Lift Correctly: Engage lifting points or handles to prevent structural damage.
- Move Slowly: A slow pace prevents tipping and keeps chickens calm.
- Monitor Behavior: Watch for signs of distress in chickens during the move.
Applying these practices will help maintain a low-stress environment and prolong the life of the chicken tractor.
Building a Chicken Tractor Frequently Asked Questions (FAQ)
In this section, we address common questions about constructing a chicken tractor, focusing on practical, actionable advice for building a mobile coop that meets the needs of your flock.
What are the essential features to include when constructing a chicken tractor?
When constructing a chicken tractor, essential features include a secure, predator-proof frame, sufficient ventilation, a shaded area, nesting boxes, and easy access for cleaning and egg collection. Durability and mobility are also key to protect and manage your flock effectively.
How can you build a sturdy A-frame chicken coop that’s easy to move?
To build a sturdy A-frame coop that’s easy to move, use lightweight materials like aluminum or treated lumber for the frame. Include a solid base with skids or attach wheels, and ensure the structure is well-balanced. Design the frame to be compact enough for easy mobility while providing adequate space for the chickens.
What materials are recommended for creating a lightweight and durable PVC chicken coop?
For a lightweight and durable PVC chicken coop, use UV-resistant PVC pipes for the frame and corrosion-resistant hardware for joints. Cover the frame with high-quality, heavy-duty bird netting or hardware cloth. For the coop cover, use a tarp that’s both waterproof and provides UV protection.
Can you provide a step-by-step guide to building a chicken tractor?
A step-by-step guide to building a chicken tractor involves planning the size and style, assembling the base frame, attaching the walls and roof, securing the hardware cloth for protection, installing nesting boxes and perches, and finally, adding wheels or skids for mobility.
How can one design a chicken tractor that accommodates up to 50 chickens?
One must design a substantial chicken tractor for up to 50 chickens, ensuring at least 10 square feet per bird. The structure should include multiple nesting boxes, high-capacity feeders and waterers, and sturdy wheels for movement. It’s essential to maintain good airflow and stability for the larger size.
What are the benefits and potential challenges of adding wheels to a chicken tractor?
Adding wheels to a chicken tractor offers the benefit of portability, allowing for easy relocation to provide fresh foraging areas. Challenges include ensuring wheels are robust enough to support the weight and securing a locking mechanism to prevent unintended movement. Proper wheel placement is also critical for balanced mobility.
Related Articles:
How to Build a Hoop Chicken Coop
What is an Easter Egger Chicken?
Water Glassing Eggs: A Step-by-Step Guide
Essential Homesteading Basics: 12 Skills You Need to Know

Leave a Reply