
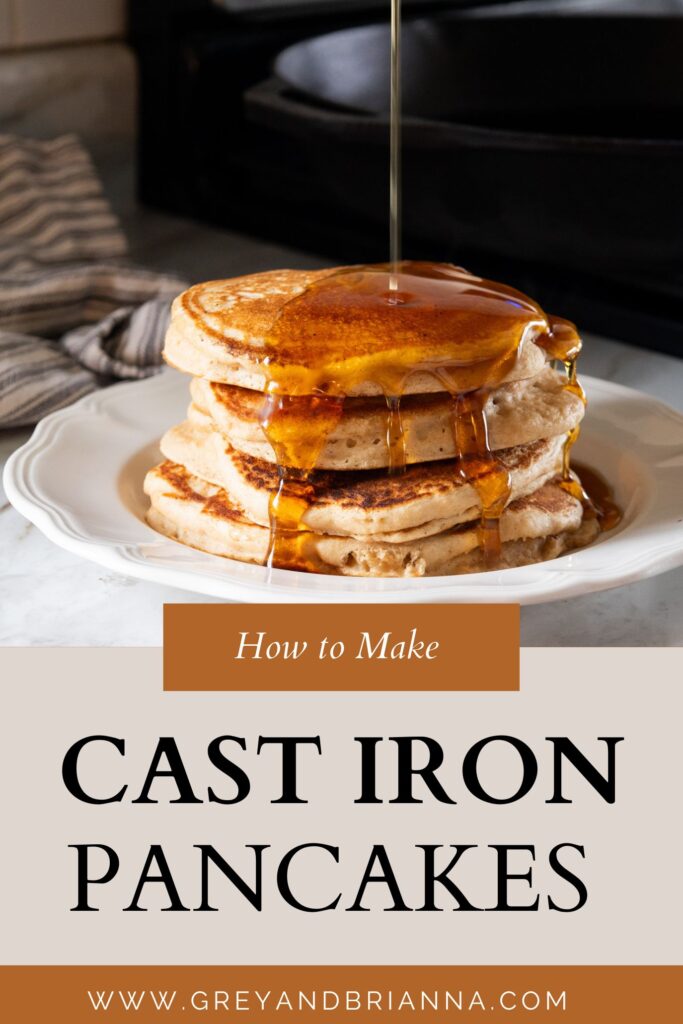
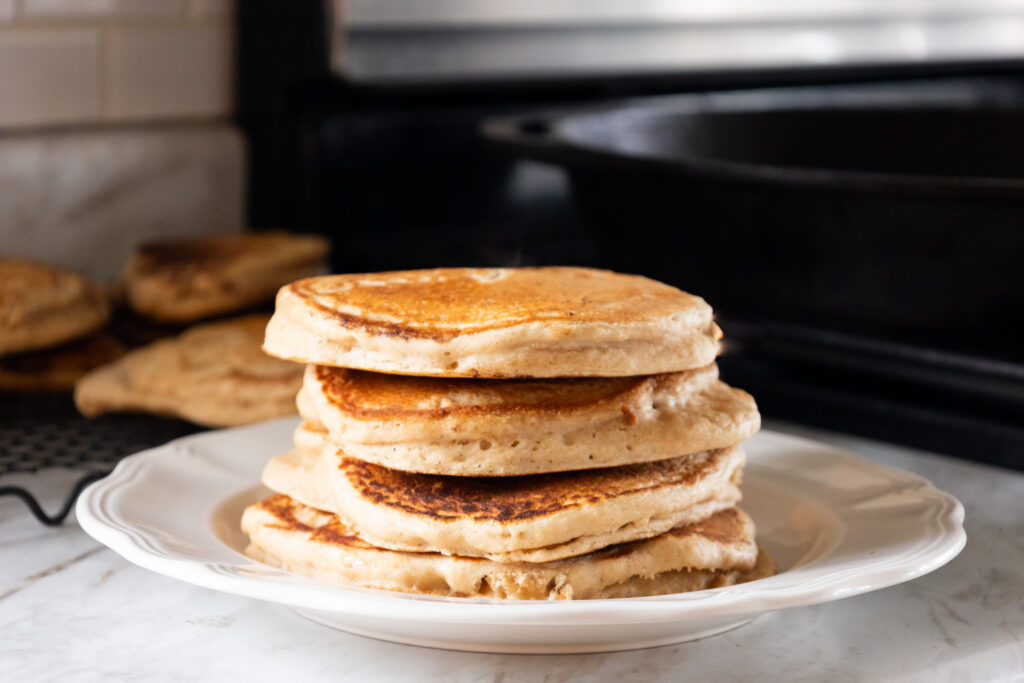
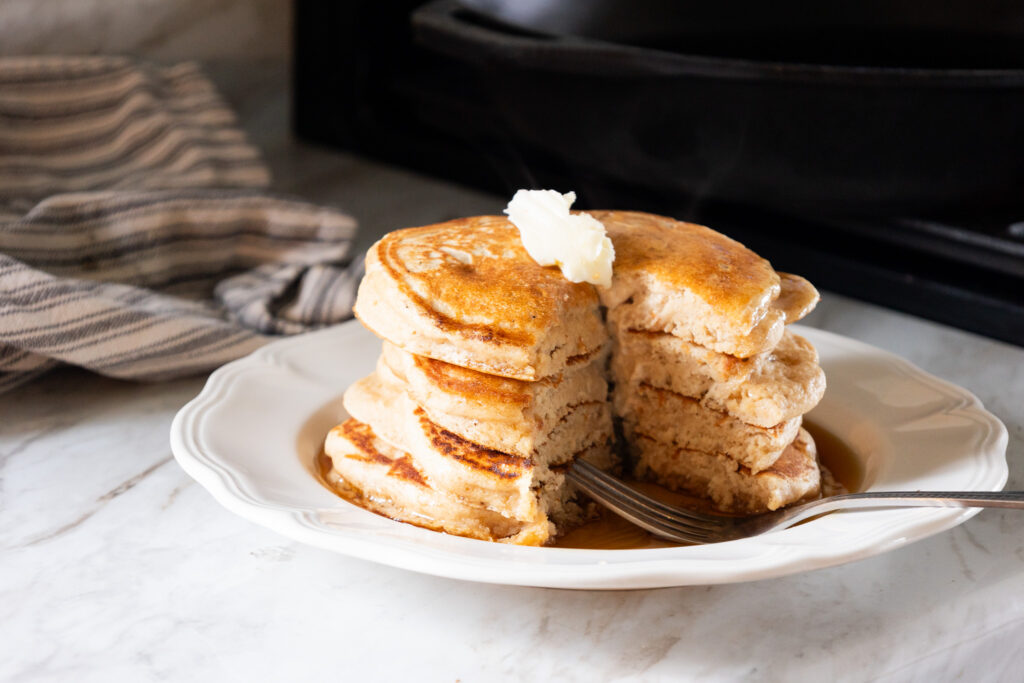
Cast iron pancakes will be your new family favorite for Saturday Mornings. All of the convenience of non-stick without the toxins.
This post contains affiliate links which means I make a small commission at no extra cost to you. See my full disclosure here.
Cast iron cookware brings a traditional and time-tested quality to modern kitchens. Specifically, cast iron pans are renowned for creating culinary delights with an unmatched flavor profile and texture. When it comes to making pancakes, these pans can offer a consistent, evenly heated surface that is ideal for achieving golden-brown perfection. The thermal properties of cast iron ensure that once the pan reaches the desired temperature, it maintains that temperature, resulting in evenly cooked pancakes.
Seasoning the pan—a process of baking oil onto the iron—creates a natural nonstick surface that improves with use. This seasoned surface is essential for pancakes, as it allows for easy flipping and removal without sticking. The weight and design of a cast iron pan ensure it sits securely on the heat source, providing a stable cooking environment. Furthermore, the iron content of the pan can potentially fortify the food with iron, a valuable dietary mineral.
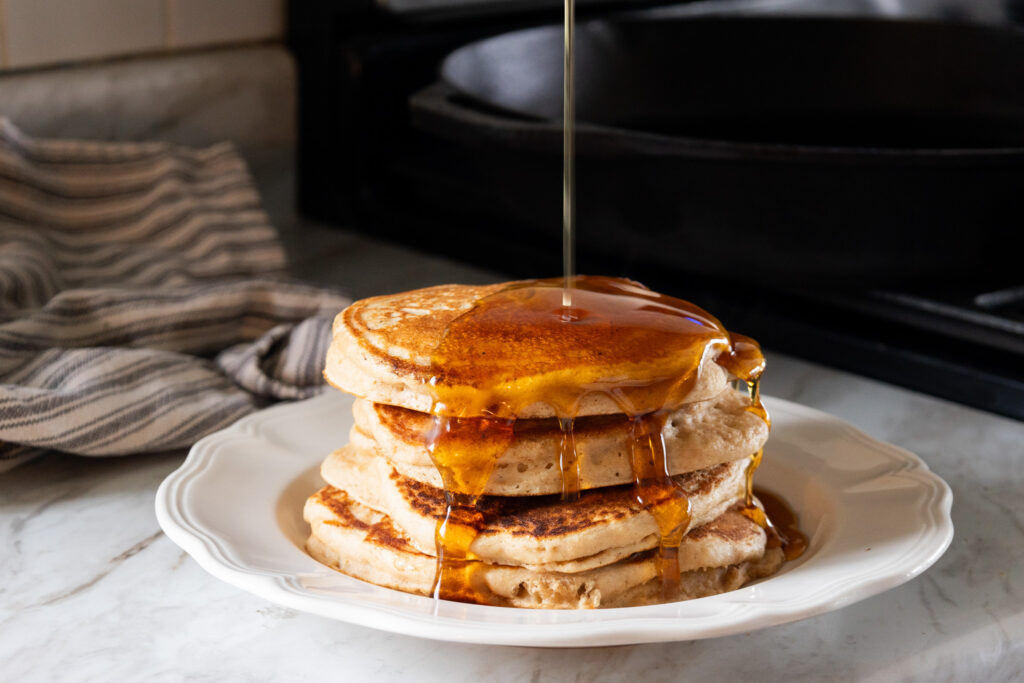
Cooking pancakes in cast iron pans is a technique passed down through generations, and it continues to be a celebrated method. Pancakes cooked in cast iron develop a delectable crispy edge that contrasts with a fluffy interior. It’s a testament to the pan’s ability to disperse and retain heat. The use of these pans is not limited by the type of stove or the pancake recipe, highlighting their versatility and the reason they remain a staple in kitchens for pancake lovers across the globe.
Benefits of Cast Iron for Pancakes
Cast iron pans offer several advantages for cooking pancakes. Their ability to retain heat provides a consistent temperature, ensuring pancakes cook evenly. The heavy-duty nature of cast iron makes it durable and long-lasting, often improving with use. Over time, a well-seasoned cast iron skillet becomes naturally non-stick, reducing the need for excess oil and making it easier to achieve golden brown pancakes.
Heat Retention and Distribution:
- Even heating: ensures no uneven hotspots
- Steady temperature: better control for cooking
Durability:
- Long-lasting: with proper care, can be used for generations
- Resistant to warping: maintains a flat cooking surface essential for pancakes
Non-Stick Qualities:
- Natural non-stick: less oil needed, healthier pancakes
- Improved with use: seasoning builds up over time
Versatility:
- Oven-safe: allows for finishing baked pancake dishes
- Induction compatible: useful across various cooktops
When using cast iron for pancakes, one should preheat the skillet to ensure the entire surface is ready. It’s recommended to cook pancakes on medium heat to balance cooking through and achieving a crisp exterior. It is also important not to soak cast iron in water, as this can damage its seasoning and promote rust. Instead, users should clean the skillet with a stiff brush and dry it thoroughly, occasionally re-seasoning with oil to maintain its non-stick properties.
Selecting the Right Cast Iron Pan
When choosing a cast iron pan for pancakes, size and weight are key considerations. A 10 to 12-inch pan is ideal for most households as it can comfortably fit several pancakes while still being manageable to handle.
Seasoning is another crucial factor. A well-seasoned pan ensures that pancakes don’t stick and provides a natural non-stick surface. Buyers should look for pans that come pre-seasoned or be prepared to season the pan themselves before first use.
The thickness of the pan affects heat retention and distribution. Thicker pans retain heat better and provide a more even cooking surface, which is essential for golden-brown pancakes.
For handles, one should opt for pans with heat-resistant handles or those that come with a silicone grip to prevent burns when handling the pan.
Lastly, consider the brand and price. Established brands with positive customer reviews may offer better quality and longevity, though they might come at a higher cost.
| Feature | Ideal Choice |
|---|---|
| Size | 10-12 inches |
| Weight | Manageable for flipping |
| Seasoning | Pre-seasoned or ready to be seasoned |
| Thickness | Thick for even heat distribution |
| Handle | Heat-resistant or with removable silicone grip |
| Brand/Price | Established brands with positive reviews |
Shoppers should invest in a pan that suits their cooking style and frequency of use, keeping in mind that a good cast iron pan can last a lifetime with proper care.
Seasoning Your Cast Iron Pan
Proper seasoning is crucial to ensure a long-lasting non-stick surface on your cast iron pan and to prevent rust. This process helps to create a patina that becomes more non-stick over time.
Initial Seasoning Procedure
Before using a new cast iron pan, it’s important that it undergoes thorough initial seasoning. Here’s how to do it:
- Preheat your oven to 350°F (175°C).
- Wash the cast iron pan with warm, soapy water to remove any residue from the factory.
- Dry the pan completely with a towel or by heating it on the stove.
- Apply a thin layer of vegetable oil or shortening to the entire pan, inside and out, including the handle.
- Place the pan upside-down in the preheated oven on a middle rack. Put a sheet of aluminum foil or a baking sheet below to catch any drips.
- Bake the pan for one hour.
- Turn off the oven and let the pan cool inside the oven before removing it.
Maintenance Seasoning
To maintain the pan’s seasoning:
- After each use, clean the pan with hot water and a sponge or stiff brush. Avoid soap as it can strip the seasoning.
- Dry the pan thoroughly; then apply a thin layer of oil while it’s still warm.
- If the pan looks dull or sticky, bake it in the oven at 350°F (175°C) for an hour, as described in the initial seasoning procedure.
Pancake Batter Basics
Creating the perfect pancake batter involves precision in ingredient selection, mastering mixing techniques, and understanding the importance of batter rest time.
Ingredients
The backbone of pancake batter consists of flour, baking powder, salt, and sugar. Wet ingredients include milk, eggs, and melted butter or oil for richness. Exact proportions ensure a balanced texture:
- Flour: 2 cups (All-purpose)
- Baking Powder: 2 teaspoons
- Salt: 1/2 teaspoon
- Sugar: 2 tablespoons
- Milk: 1 1/2 cups
- Eggs: 2 large
- Melted Butter or Oil: 3 tablespoons
Mixing Techniques
To ensure a fluffy texture, one must mix dry and wet ingredients separately before combining. Overmixing is to be avoided; a few lumps in the batter are acceptable and prevent overworking the gluten in the flour:
- Combine all dry ingredients in one bowl.
- Whisk wet ingredients together in a separate bowl.
- Pour the wet mixture into the dry ingredients.
- Mix gently until just combined.
Resting the Batter
Allowing the batter to rest for at least 15 minutes gives the baking powder time to activate, resulting in light and fluffy pancakes. It also allows the gluten strands that have formed during mixing to relax:
- Resting Time: Minimum 15 minutes
- Temperature: Room temperature
- Cover: Optional, with a cloth or plastic wrap
Cooking Pancakes on Cast Iron
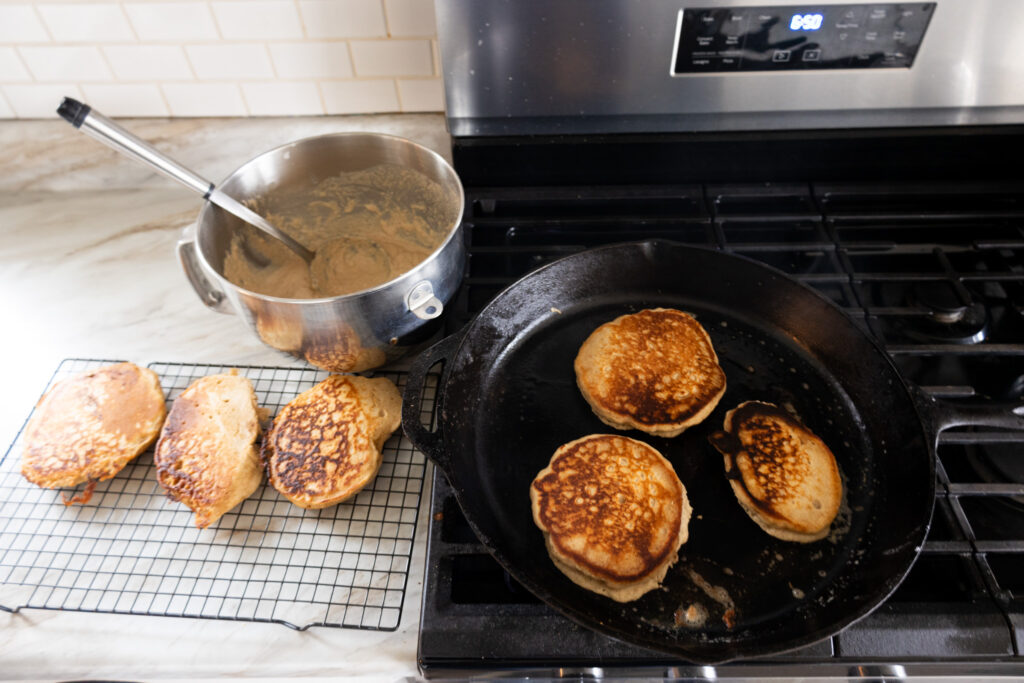
Cooking pancakes on a cast iron skillet provides a consistent heat that is ideal for achieving a golden brown crust. The key to success lies in proper pan preparation, batter distribution, and technique.
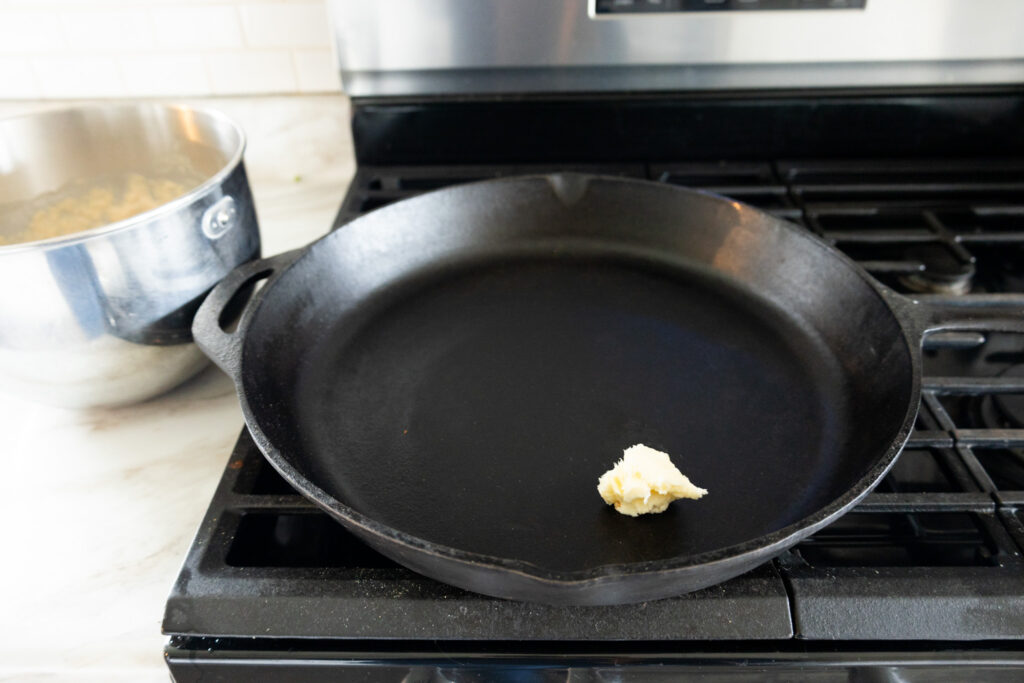
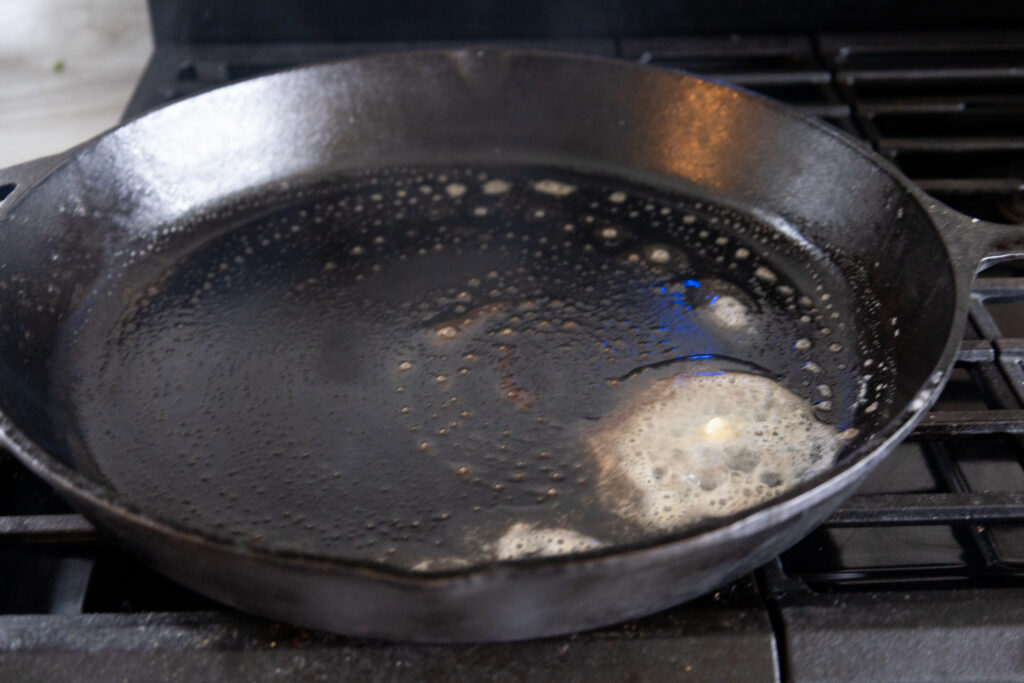
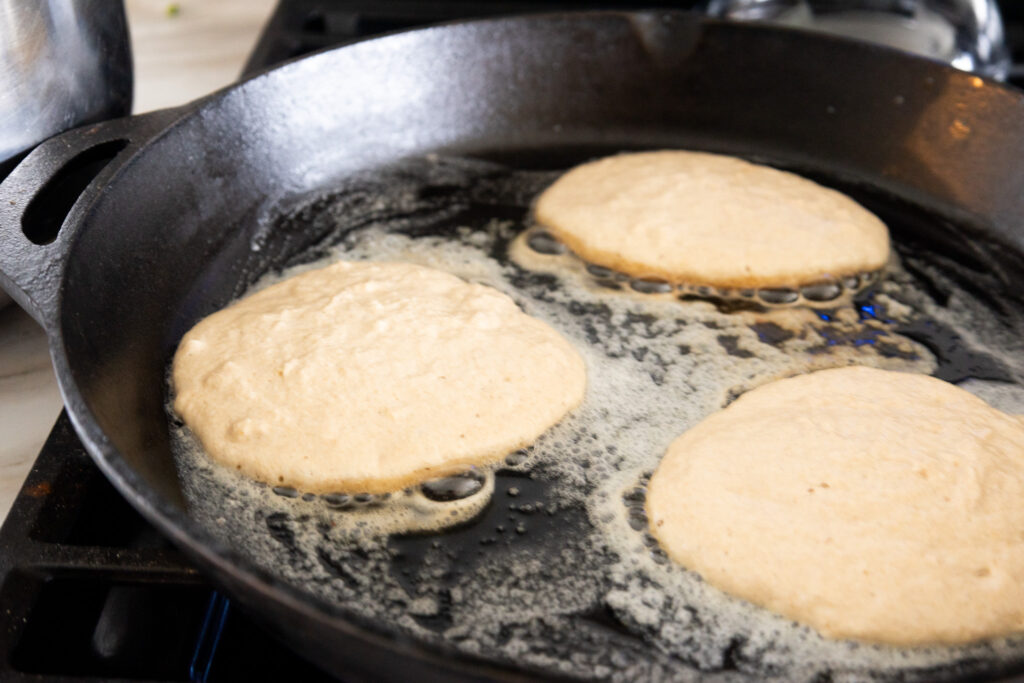
Preheating the Pan
Before pouring the batter, it is crucial to preheat the cast iron pan to a medium heat level. This can take approximately 5 to 10 minutes. A properly heated pan ensures immediate sizzling upon contact, which is essential for a well-cooked exterior. Use a drop of water to test the heat; if it dances on the surface, the pan is ready.
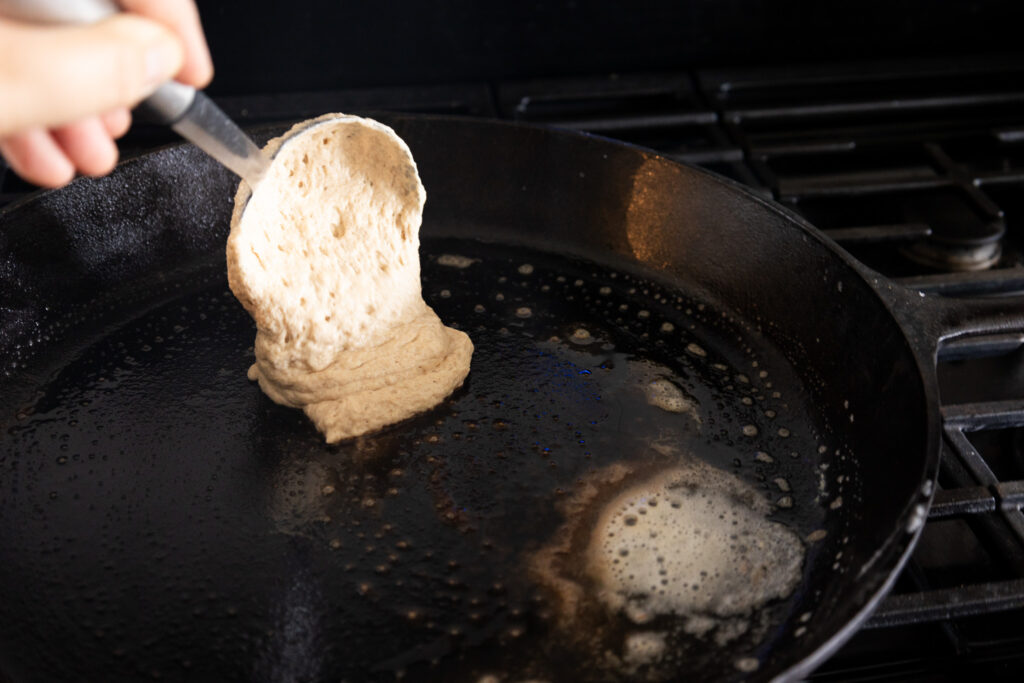
Portioning and Pouring
Once the pan is heated, portion the batter using a ladle or a measuring cup to ensure uniform pancake sizes. An ideal amount is 1/4 cup of batter per pancake. Slowly pour it into the center of the pan to maintain the shape. Allow enough space between each pancake to prevent them from merging during expansion.
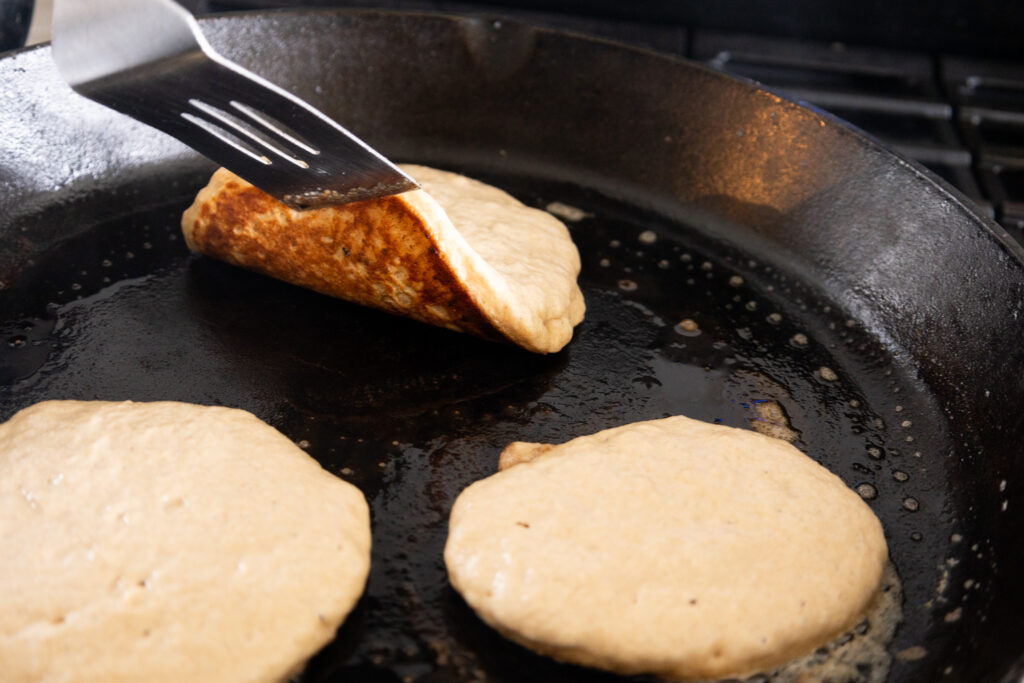
Flipping Techniques
Pancakes should be flipped when bubbles appear on the surface and the edges look set, usually after 2 to 3 minutes. Slide a spatula gently under the pancake and quickly flip it. The second side usually cooks faster, so monitor closely and remove when both sides are golden brown. It is important not to flip more than once to maintain texture.
Cast Iron Care Post-Cooking
Proper maintenance after cooking with a cast iron pan is crucial to ensure its longevity and non-stick properties. Focused care keeps it in prime condition for making perfect pancakes and other dishes.
Cleaning Methods
After cooking, wait for the pan to cool to a safe temperature. Never soak a cast iron skillet as this can lead to rust. Instead, the pan should be cleaned using hot water and a non-metal brush or sponge to preserve the seasoning layer. For stubborn residue, one can use coarse kosher salt with a bit of hot water to create a paste for gentle scrubbing. Avoid the use of soap if possible, but if necessary, a small amount of mild dish soap won’t harm the seasoning.
Once cleaned, the pan should be dried thoroughly. Heating it over a low flame for a few minutes can ensure all moisture has evaporated.
Storing the Pan
Before storing, the cast iron pan should be fully dried and lightly coated with a thin layer of oil. This step is referred to as seasoning and is essential for preventing rust and maintaining the pan’s non-stick surface. Use a paper towel to apply a small amount of cooking oil, covering all surfaces in a thin layer.
The pan should be stored in a dry place. One can hang it or place it in a cupboard, but it is best to keep it separate from other cookware to avoid moisture buildup. If stacking pans, it’s advisable to place a layer of paper towel between them to prevent scratching.
Troubleshooting Common Issues
When cooking with cast iron, users may encounter issues such as sticking batter, uneven heating, and maintenance challenges. Identifying and addressing these problems ensures optimal performance and longevity of cast iron cookware.
Sticking Batter
To prevent batter from sticking to a cast iron skillet, one must ensure the pan is properly seasoned. A well-seasoned pan has a natural non-stick quality. Seasoning involves coating the pan with a layer of oil and baking it to create a protective layer. Use the following steps before cooking:
- Heat the skillet on the stove to open up the iron’s pores.
- Apply a thin coat of high-smoke-point oil, like canola or vegetable oil.
- Place the skillet upside down in a preheated oven at 375°F for one hour.
- Let it cool inside the oven.
If sticking persists, the skillet might require re-seasoning.
Uneven Heating
Cast iron is prone to uneven heating if not handled correctly. To avoid hot spots, preheat the skillet on medium heat for 5 to 10 minutes, rotating it every few minutes. When adding batter, use a consistent thickness and wait for the skillet to regain temperature between batches.
Here are optimal heat settings for different ranges:
| Heat Source | Preheat Duration | Additional Tips |
|---|---|---|
| Gas stove | 5 minutes | Rotate every 2 minutes |
| Electric stove | 10 minutes | Rotate every 3 minutes |
| Induction | 5 minutes | Use induction-compatible cast iron |
Maintenance Challenges
Regular maintenance keeps cast iron in prime condition. After each use, handwash the skillet with warm water and a non-abrasive sponge. Avoid dish soap unless necessary, and never soak cast iron in water as it can lead to rust.
Drying is crucial; always towel-dry immediately after washing and heat on the stove for 1-2 minutes to evaporate remaining moisture. Apply a light coat of oil after every wash to maintain the seasoning. Store in a dry place, ideally hung up or with a paper towel inside to absorb any excess moisture.
Exploring Variations and Recipes
When mastering the art of cast iron pancake-making, one discovers a diverse spectrum of recipes ranging from classic, fluffy stacks to novel savory and sweet adaptations. The following recipes are tailored for the even heat distribution and the seasoned surface of a cast iron skillet.
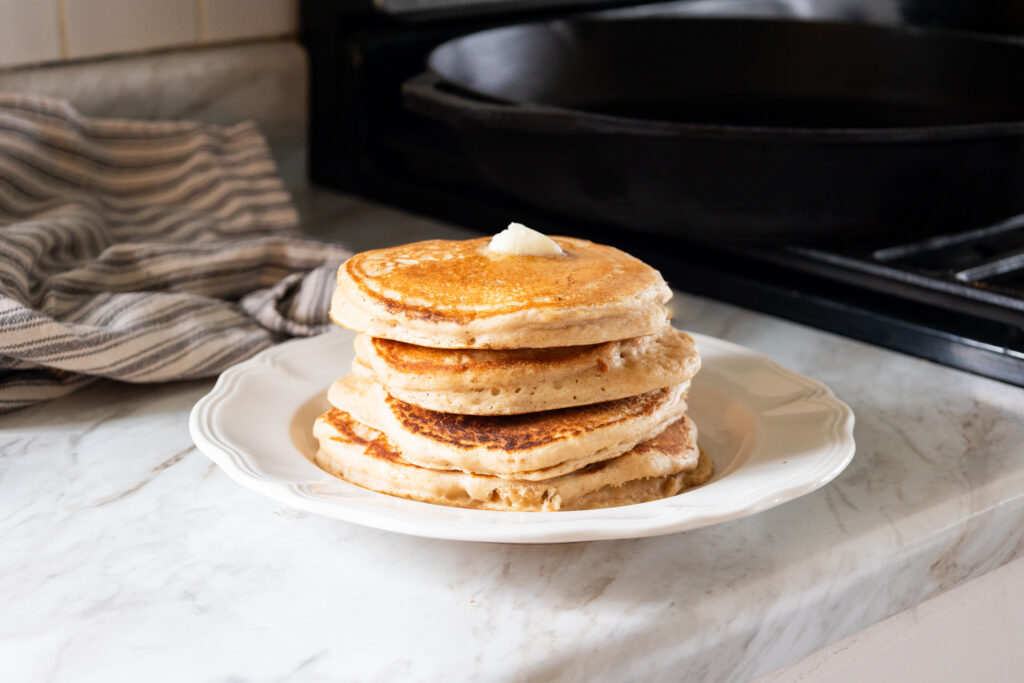
Classic Cast Iron Pancakes
The quintessential cast iron pancake recipe involves a simple batter that lets the flavor of the griddle shine through. Ingredients include all-purpose flour, baking powder, salt, sugar, milk, an egg, and melted butter—an ideal standard for a quick and classic breakfast. Mixing the dry ingredients separately before incorporating the wet ensures a uniform batter, and cooking over medium heat allows the pancakes to develop a golden crust.
Savory Pancake Options
Savory pancakes open a realm for creativity and can be a delightful alternative for any meal. Experiment with adding grated cheese, chopped scallions, and diced cooked bacon to the batter. Another crowd-pleaser is incorporating shredded potatoes or sweet potatoes for a heartier texture and rich flavor profile. For these variations, one may opt to slightly increase the amount of baking powder and salt in the base recipe to compensate for the additional ingredients.
Sweet and Specialty Pancakes
For those with a sweet tooth, cast iron skillets unlock indulgent possibilities. Introduce cocoa powder and chocolate chips to the base recipe for a Chocolate Chip Pancake, or swirl in cinnamon and top with caramelized apples for a Cinnamon-Apple Pancake. Specialty recipes might feature whole grains such as oatmeal or buckwheat, adding a wholesome twist and a nutty flavor to morning routines. To preserve the delicate textures of these variations, ensure that fresh ingredients like fruit are folded gently into the batter right before cooking.
By utilizing a cast iron skillet, these pancake recipes benefit from consistent heat and a naturally non-stick surface, resulting in picturesque breakfasts or unique savory meals that cater to a wide array of tastes.
Pin it for Later!
Related Articles:
How to Restore a Cast Iron Skillet
Best Cooking Utensils for Cast Iron
Leave a Reply