
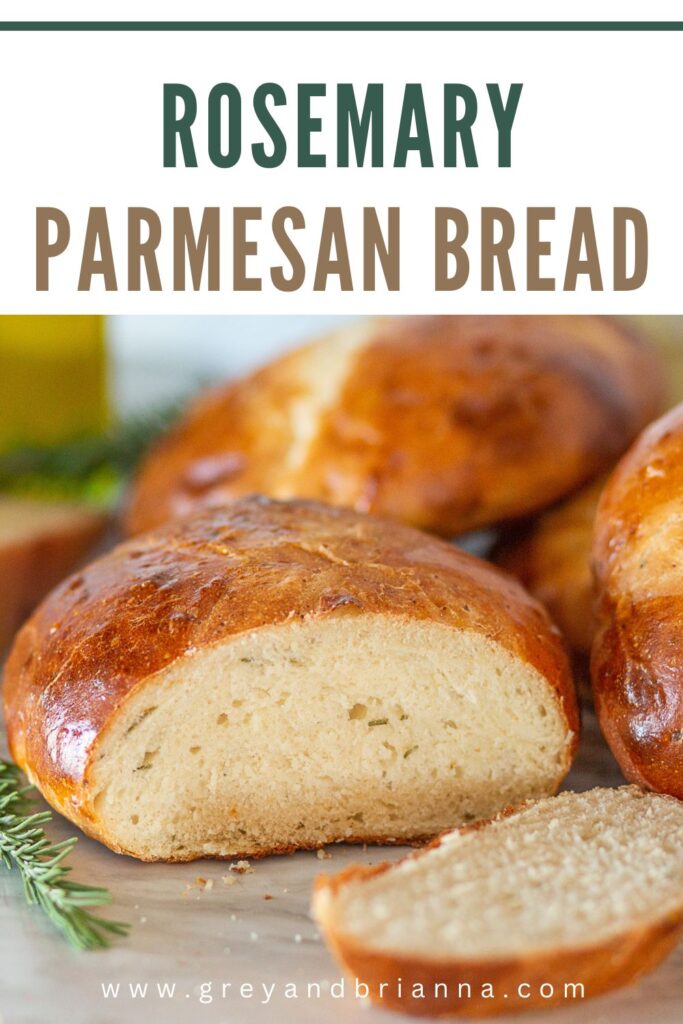
Rosemary parmesan bread is the perfect herby, cheesy, savory bread to go with your next meal. Great with soups, stews, or all on it’s own!
This post contains affiliate links which means I make a small commission at no extra cost to you. See my full disclosure here.
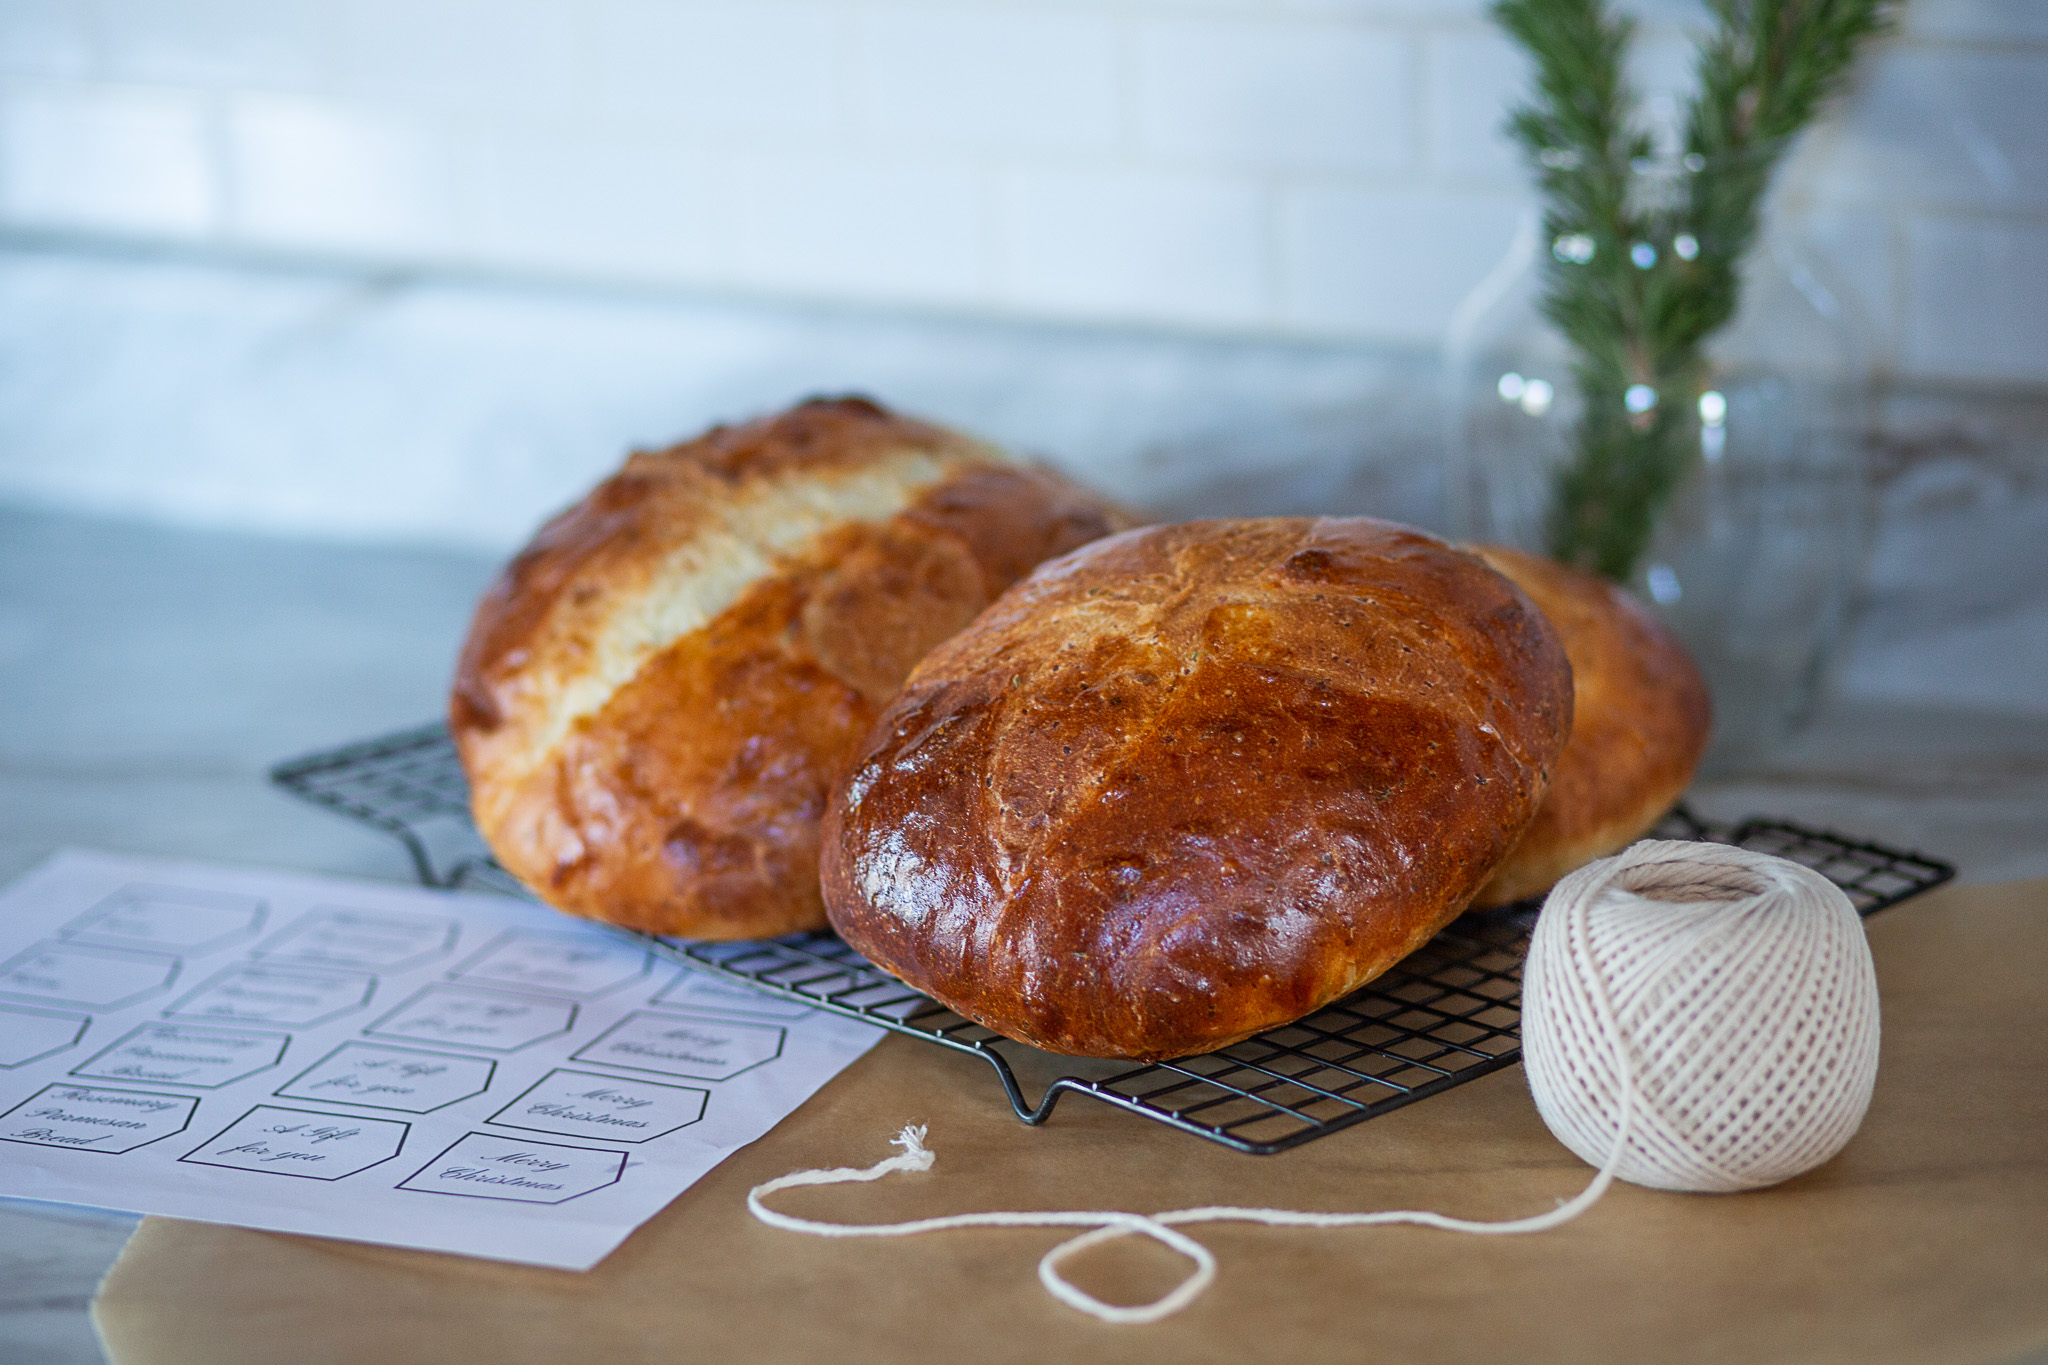
Baking bread is the heart of our kitchen, especially during the cold Fall and Winter months. I like to bake at least one loaf of sourdough bread every morning throughout the year. When it is cold, or I am expecting company, I love recipes like this one that make more than one loaf. This recipe makes 4 loaves! This rosemary parmesan bread makes the perfect Christmas or housewarming gift! I have shared my tips and a free printable for gifting these loaves below.
I like to make this recipe because the rosemary and parmesan are so delicious, but we can’t eat 4 loaves at once, even with our big family. This is when our freezers come in handy. I will just pop a couple loaves in the freezer for later.

Tools you’ll need to make rosemary parmesan bread
A note on bread recipes
There is a wide range of factors that can effect how a loaf of bread will turn out. Temperature, humidity, etc., can affect how much flour and water is needed. Always error on the side of less flour at the beginning because there is flour added during the kneading process. You’ll also notice that there is a range of flour and water, and that is because it is necessary to adjust those amounts based on your individual kitchen environment. For my kitchen environment, I did 4 cups of water total and 8 1/2 cups of flour before kneading.
Ingredients you’ll need to make rosemary parmesan bread
- 4-5 cups water
- 4 Tbsp olive oil
- 3 tsp salt
- 4 Tbsp honey
- 8-9 cups bread flour (you can use all-purpose flour if that is what you have; the loaves will be a little shorter), plus flour for kneading
- 2 tsp instant yeast
- 1 cups grated parmesan
- 4 Tbsp fresh rosemary chopped


How to make rosemary parmesan bread
- Proof the yeast by putting the yeast in 1 cup of warm water. You want the yeast to be nice and bubbly, so let it sit for about 5 minutes.
- Meanwhile, measure the salt in a mixing bowl.
- Add flour, yeast mixture, sugar, olive oil, parmesan, and rosemary, and remaining water to mix with a Danish dough whisk, so that all the flour sticks together. (I did 4 cups)
- When the dough is just holding together turn it onto a floured surface.
- Knead for 10-12 minutes on a floured surface, by hand, turning and folding well. When dough is ready it will be elastic-y and will not stick to the counter much.
- Pull all sides of the dough into the center, making a big ball. This stretches the gluten and makes a higher loaf. Put the dough in the bowl with the smooth side on top.
- Put back in bowl to rise with damp cloth over the top for 1 hour.
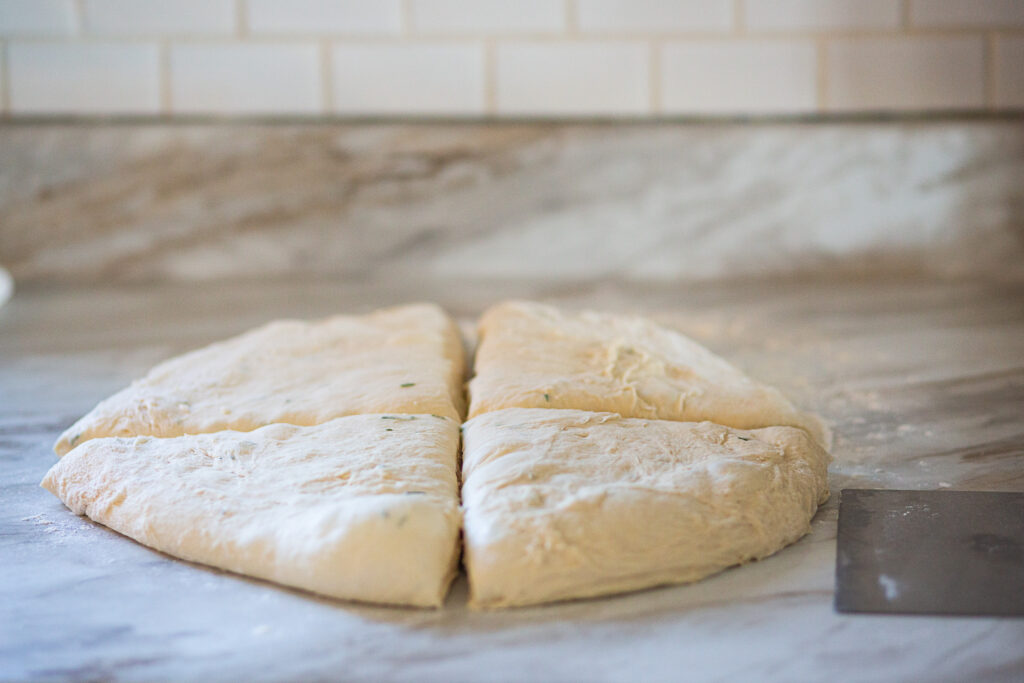
- Take dough out of the bowl, and flatten it to about 2 inches tall. Separate dough with bench scraper or sharp knife, into 4 equal parts.
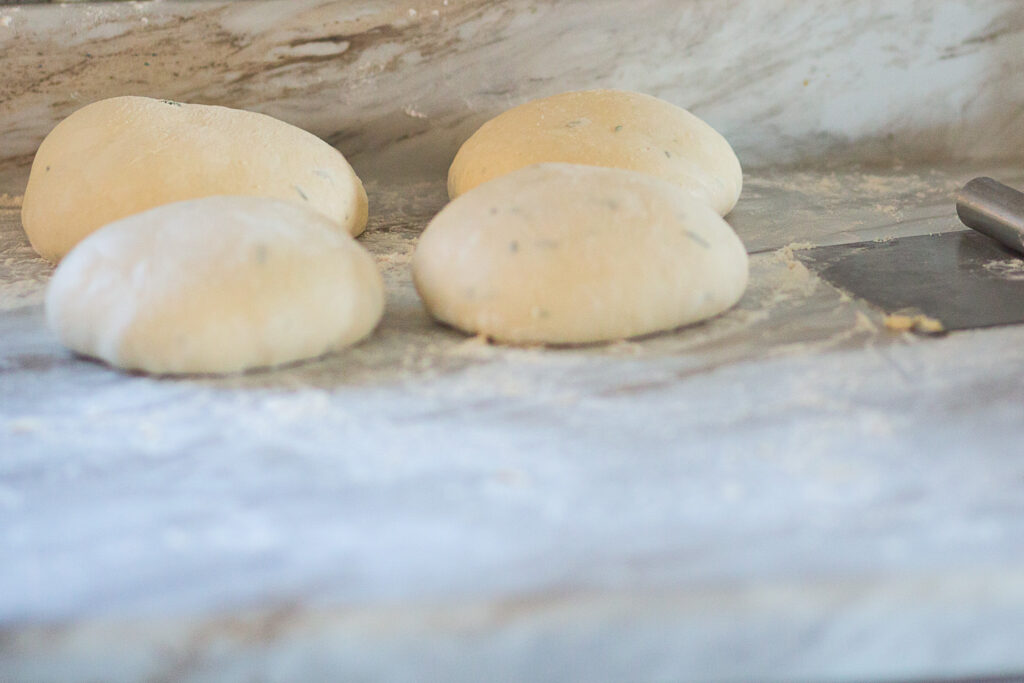
- Take each section and pull the edges into the middle all the way around to make a ball. This stretching is important; you will see some bubbles pop. Put the smooth side up as you set each ball on the counter. Cover all the sections with the damp cloth and let sit for 30 minutes.
- Wash your bowl.
- Line 2 baking sheets with parchment paper.
Shaping the loaves and baking
- To shape the loaves, flatten again to about 1 inch thick (just flatten—do not stretch the dough out, just flatten it). Fold one side of the circle of dough to the almost the other side so you have a smile. Then flatten again. Fold both sides in, overlapping, so that the dough is folded in thirds. Flatten again.
- Pull edges in to the center like before, working all the way around the dough. Grab dough together at center to make a “foot” so that the loaf is sticking together. Turn dough over and gently “round” so that the middle is not sunken.
- Put loaves on the cookie sheets to rise again.
- Cover loaves on the cookie sheets with the damp cloth and let rise about 30 minutes.
- Meanwhile, heat oven to 400º F.
- When second rising is done, take a sharp knife or bread lame, and quickly and lightly slash the loaves.
- If the loaves deflate when you slash them, they rose too long on the second rising. They will still cook, but watch next time so that you will get a higher loaf.
- You can mix an egg with a little water and lightly brush the loaves all over using a pastry brush with the egg wash. If you do not have an egg, the crust will be less crunchy, but will still be tasty.
- Put loaves in the oven and cook until a nice browned top is there (about 25-30 minutes). Cook them a little darker than you think they should be, or they will be doughy.
- Take loaves out of the oven. After a couple minutes, place loaves on a cooling rack to cool.

Rosemary Parmesan Bread tips
- Proof the yeast before starting to make sure it is active.
- Place the dough in a warm location while rising. If your kitchen is cold, you can move it to another room while it rises.
- Don’t skip the stretching steps. This is what gives the bread a nice crust and chew.
- Use a damp cloth to make sure the loaves do not dry out while rising.
- Use a sharp bread lame while scoring the bread, to avoid damaging the loaves you’ve worked so hard on!
- Make sure to set them on a cooling rack, so they do not get soggy on the baking sheet after taking them out of the oven.
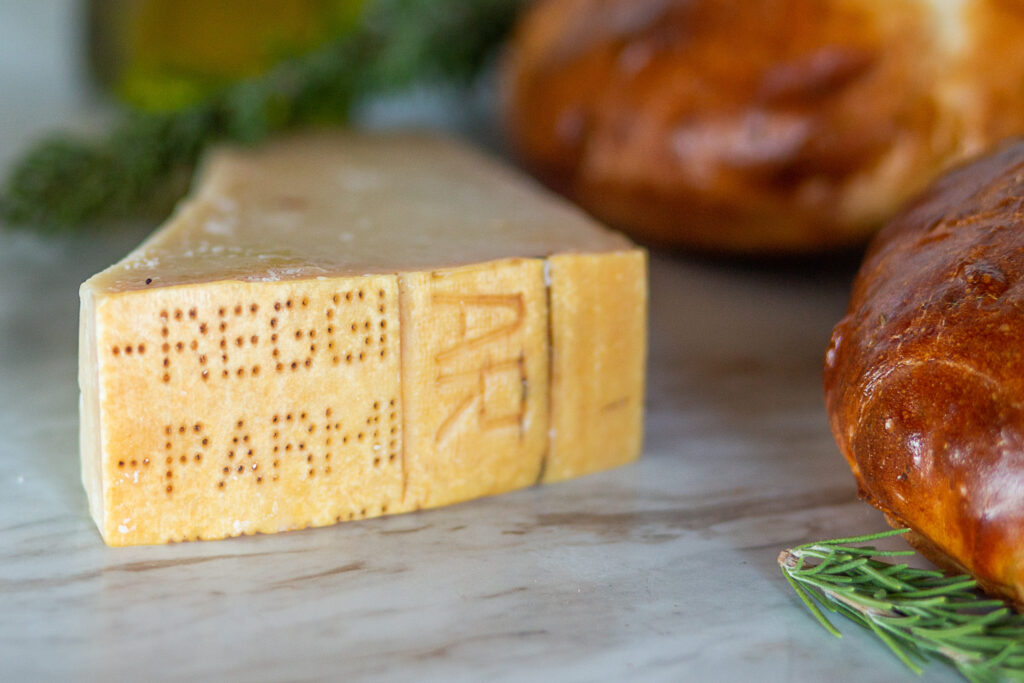
- Use good quality parmesan, we like the one and only Parmigiano Reggiano. It’s the best!
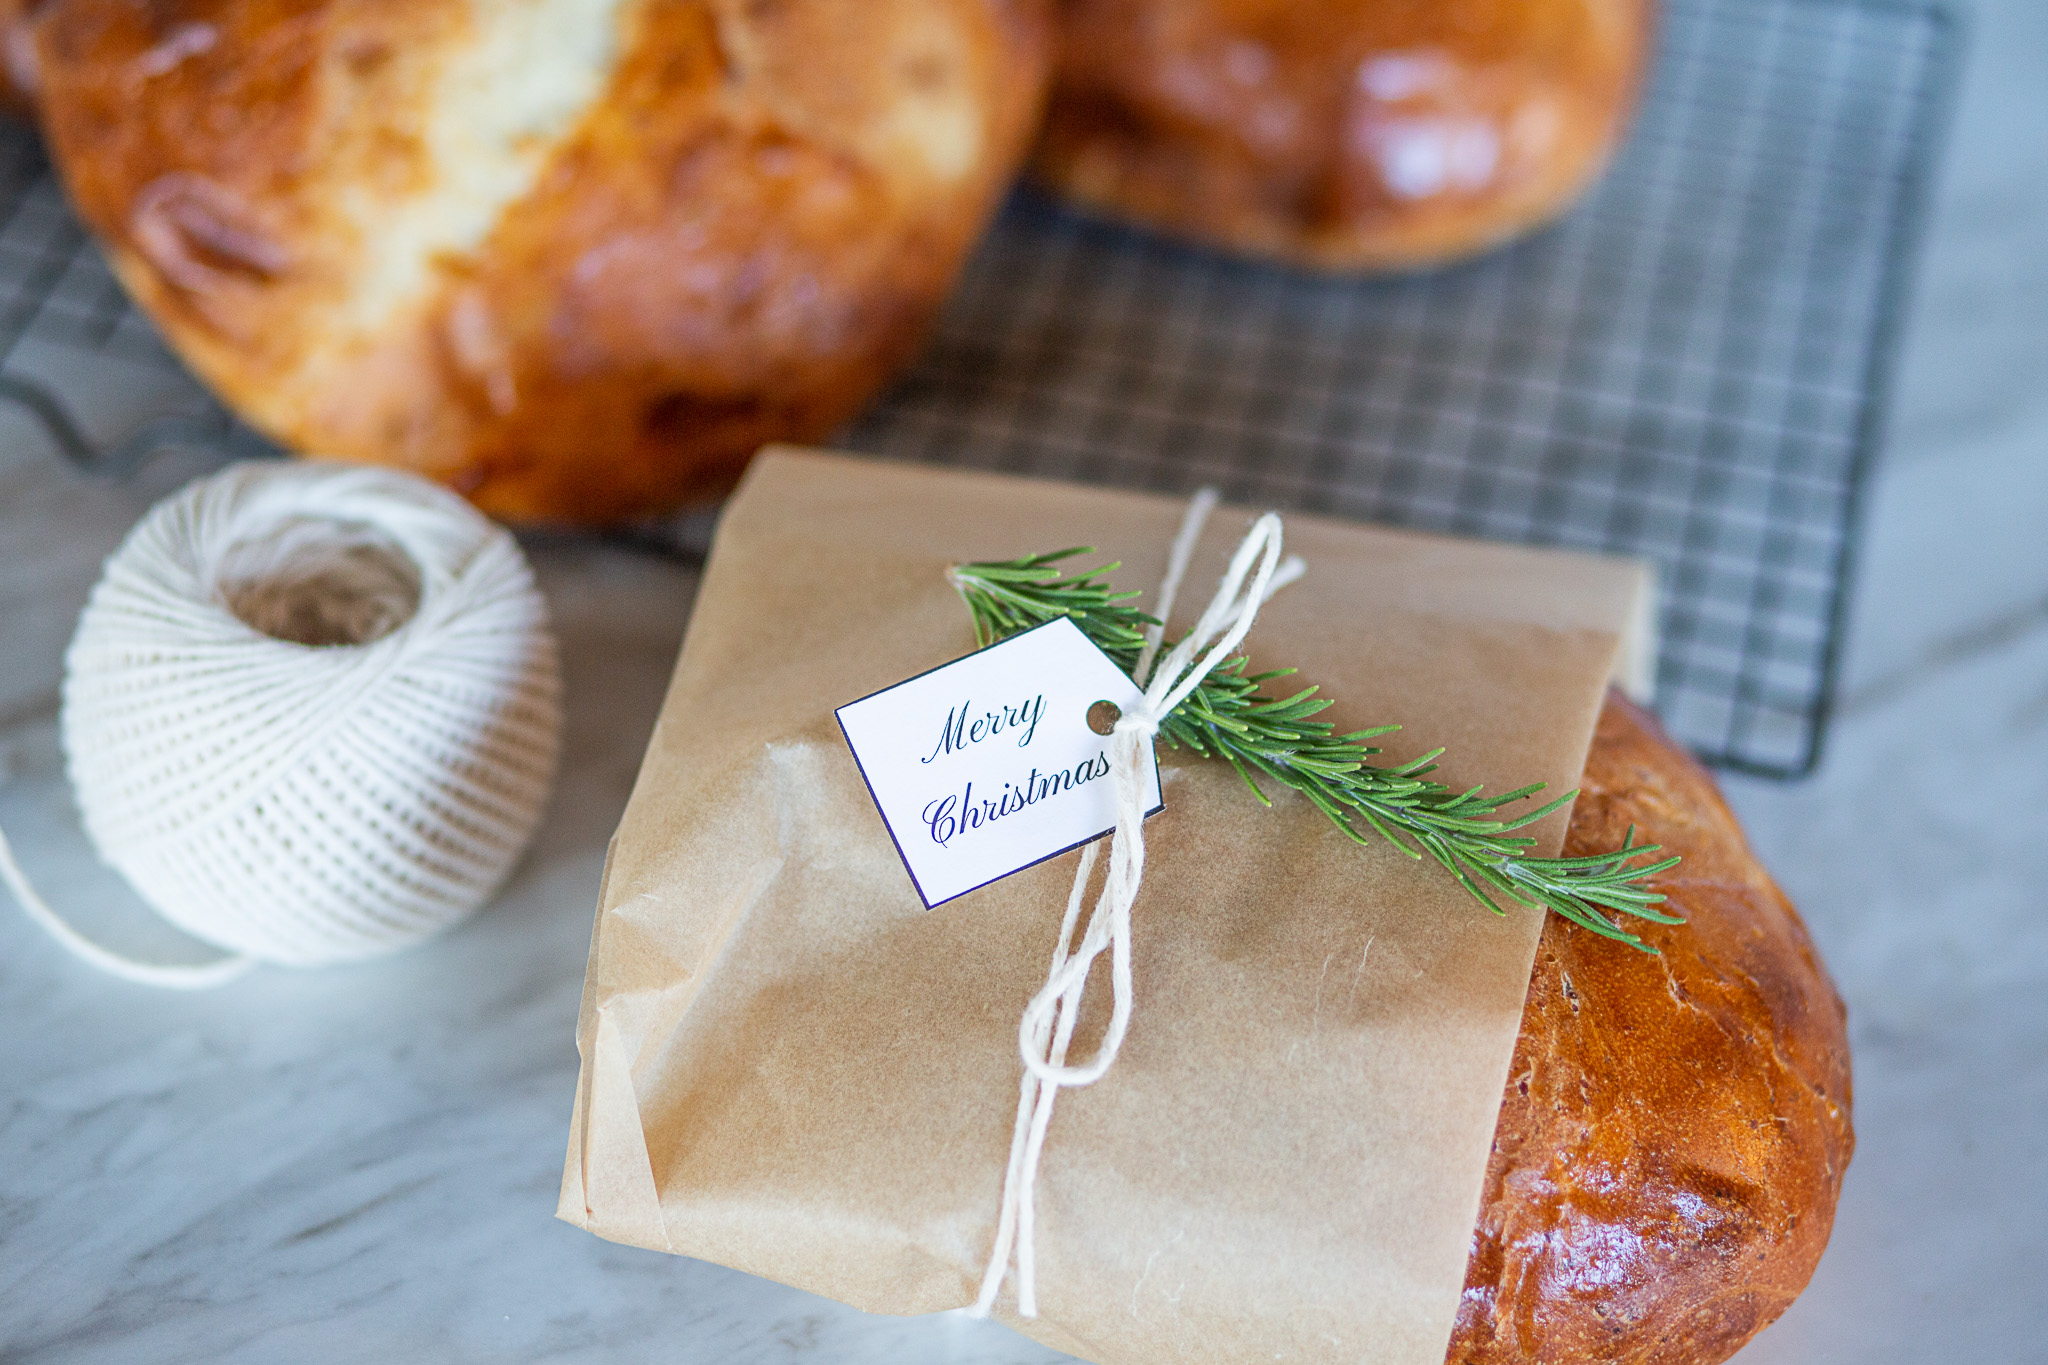
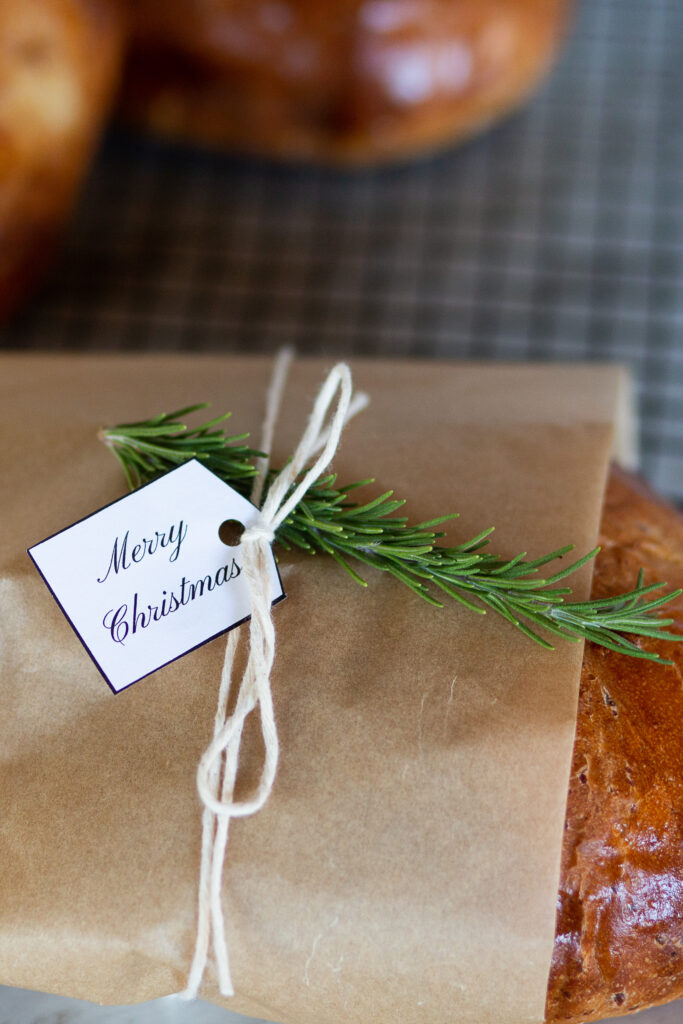
Baking bread for a gift
Because this recipe makes 4 loaves, it is great to bake for gifts. It makes a beautiful Christmas or housewarming gift. I like to wrap mine in brown paper, tied with butcher twine, a sprig of rosemary, and these cute gift tags. If you want to snag these gift tags for yourself I made you a free printable! Print them on thick card stock so they hold up, cut them out, punch a hole, and string them on the twine before tying your paper shut.
Here are the supplies you might need:
How to freezer rosemary parmesan bread
Like most breads, rosemary parmesan bread freezes well. I simply label a gallon sized freezer bag with the contents (so I can remember there is rosemary in this bread!), and pop the loaf into the bag. Squeeze the excess air out, and seal. The bread will last in the freezer for up to 3 months! This is especially helpful, if I am not up for making dinner one night. I can simply pull out a soup previously frozen, a loaf of this bread and we have a homemade meal!
You may also be interested in:
Rosemary Parmesan Bread
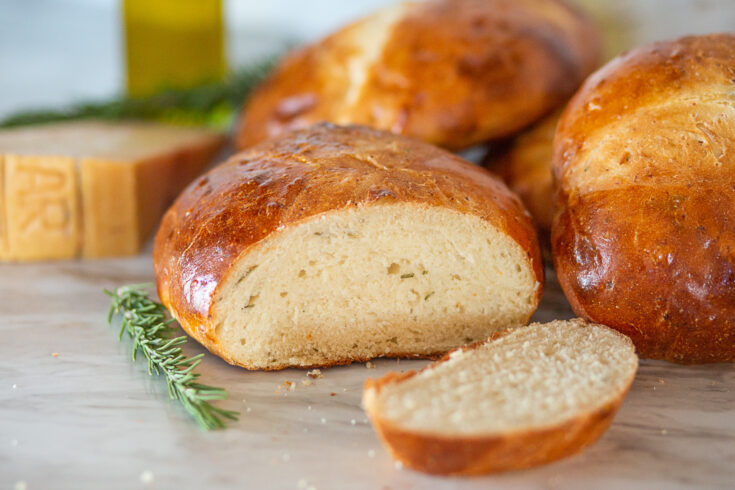
Rosemary parmesan bread is the perfect herby, cheesy, savory bread to go with your next meal. Great with soups, stews, or all on it's own!
Ingredients
- 4-5 cups water
- 4 Tbsp olive oil
- 3 tsp salt
- 4 Tbsp honey
- 8-9 cups bread flour (you can use all-purpose flour if that is what you have; the loaves will be a little shorter), plus 2 cups for kneading
- 2 tsp instant yeast
- 1 cups grated parmesan
- 4 Tbsp fresh rosemary chopped
- 1 egg (optional)
Instructions
- Proof the yeast by putting the yeast in 1 cup of warm water. You want the yeast to be nice and bubbly, so let it sit for about 5 minutes.
Meanwhile, measure the salt in a mixing bowl. - Add flour, yeast mixture, sugar, olive oil, parmesan, and rosemary, and remaining water to mix with a bread whisk, so that all the flour sticks together. (I did 4 cups)
- When the dough is just holding together turn it onto a floured surface.
Knead for 10-12 minutes on a floured surface, by hand, turning and folding well. When dough is ready it will be elastic-y and will not stick to the counter much. - Pull all sides of the dough into the center, making a big ball. This stretches the gluten and makes a higher loaf. Put the dough in the bowl with the smooth side on top.
- Put back in bowl to rise with damp cloth over the top for 1 hour.
Take dough out of the bowl, and flatten it to about 2 inches tall. Separate dough with dough cutter into 4 equal parts. - Take each section and pull the edges into the middle all the way around to make a ball. This stretching is important; you will see some bubbles pop. Put the smooth side up as you set each ball on the counter. Cover all the sections with the damp cloth and let sit for 30 minutes.
- Wash your bowl.
Line 2 baking sheets with parchment paper. - To shape the loaves, flatten again to about 1 inch thick (just flatten—do not stretch the dough out, just flatten it). Fold one side of the circle of dough to the almost the other side so you have a smile. Then flatten again. Fold both sides in, overlapping, so that the dough is folded in thirds. Flatten again.
- Pull edges in to the center like before, working all the way around the dough. Grab dough together at center to make a “foot” so that the loaf is sticking together. Turn dough over and gently “round” so that the middle is not sunken.
- Put loaves on the cookie sheets to rise again.
- Cover loaves on the cookie sheets with the damp cloth and let rise about 30 minutes.
- Meanwhile, heat oven to 400º F.
- When second rising is done, take a sharp knife or bread lame, and quickly and lightly slash the loaves.
If the loaves deflate when you slash them, they rose too long on the second rising. They will still cook, but watch next time so that you will get a higher loaf. - You can mix an egg with a little water and lightly brush the loaves all over using a pastry brush with the egg wash. If you do not have an egg, the crust will be less crunchy, but will still be tasty.
- Put loaves in the oven and cook until a nice browned top is there (about 25-30 minutes). Cook them a little darker than you think they should be, or they will be doughy.
- Take loaves out of the oven. After a couple minutes, place loaves on a cooling rack to cool.
Notes
There is a wide range of factors that can effect how a loaf of bread will turn out. Temperature, humidity, etc., can affect how much flour and water is needed. Always error on the side of less flour at the beginning because there is flour added during the kneading process. You'll also notice that there is a range of flour and water, and that is because it is necessary to adjust those amounts based on your individual kitchen environment. For my kitchen environment, I did 4 cups of water total and 8 1/2 cups of flour before kneading.
Pin it for later!

Fed up with the fast paced modern world, Grey & Brianna made drastic changes to live slowly and intentionally. Read more about their unlikely story back to calm. If you want to send Grey & Brianna a quick message, then visit their contact page.
Leave a Reply