Knowing how to prep for butchering day on the homestead, is the difference between success and failure. Here’s what you need to know.

This post contains affiliate links which means I make a small commission at no extra cost to you. See my full disclosure here.
Raising our our own meat has taken on many different forms over the years. We have successfully butchered many animals right here on our homestead and have learned countless lessons…some the hard way! About what to do and what NOT to do when it comes time for butchering day.
Whether you are outsourcing your butchering, doing it yourself, or a little combination of them both…we’ve got some tips for you to make the process as seamless as possible.
How to prep for a DIY butchering day (when butchering at home)
- Do your research
- Choose animals that you can raise and butcher at home
- Understand the butchering process
- Use the right equipment for home butchering
- Study basic anatomy
- Start with a clean organized work area
- Consider making DIY butchering a community project
- Learn freezer space before butchering day
- Plan for how you will pack the meat
- Consider the emotional side of butchering at home

Do your research
Butchering animals is quite the undertaking and isn’t something you want to go into without ample information. I am all about learning on the job, but in this case since there is another life involved it is really important that you set yourself (and the animal) up for success. Don’t “just wing it”. Do your homework in proper slaughtering and butchering techniques. Research might look like reading books, watching videos, listening to podcasts, or the best of all getting a mentor that has done it before.
What animals can you raise and butcher at home?
If you haven’t yet started raising your specific species of animal, you may step back to consider which kind of animal is the best choice for you. Look start to finish in the raising to butchering process. If you plan on butchering yourself, certain larger species may be harder to start with because they will require special equipment.
Consider buttering smaller animals like chickens, rabbits, or quail before tackling larger animals like hogs, sheep, or cows.

Understand the butchering process
After you have decided on the animal you plan on butchering, really dive deep into how to butcher THAT SPECIFIC type of animal. Buttering processes vary greatly depending on what type of animal you choose. We cannot emphasize enough, that if you plan to DIY your own slaughter and butcher…do your research! Learn the core basics about butchering the specific animal you will be working on, and then gather the supplies.
Use the right equipment for home butchering
You may find that you have a preference of equipment once you have gone through the process. Regardless of personal preferences and species, there are some basics that everyone will need here is a general breakdown by size of animal. Keep in mind this is a GENERAL breakdown, and you may find you need more or not as much once you develop the buttering skill.

Poultry butchering equipment
- A Kill cone (you can make these with a 5 gallon bucket
- Buckets
- Water source close by (to rinse workspace and birds)
- Poultry shears or sharp knife
- A large pot to boil the birds before plucking
- Large work surface (folding tables work great)
- Freezer packaging (we use heat shrink bags to reduce freezer burn)
- A large cooler filled with ice
- Optional Chicken Plucker (we invested in an electric chicken plucker)
Large Animal Butchering Equipment
- Large work surface
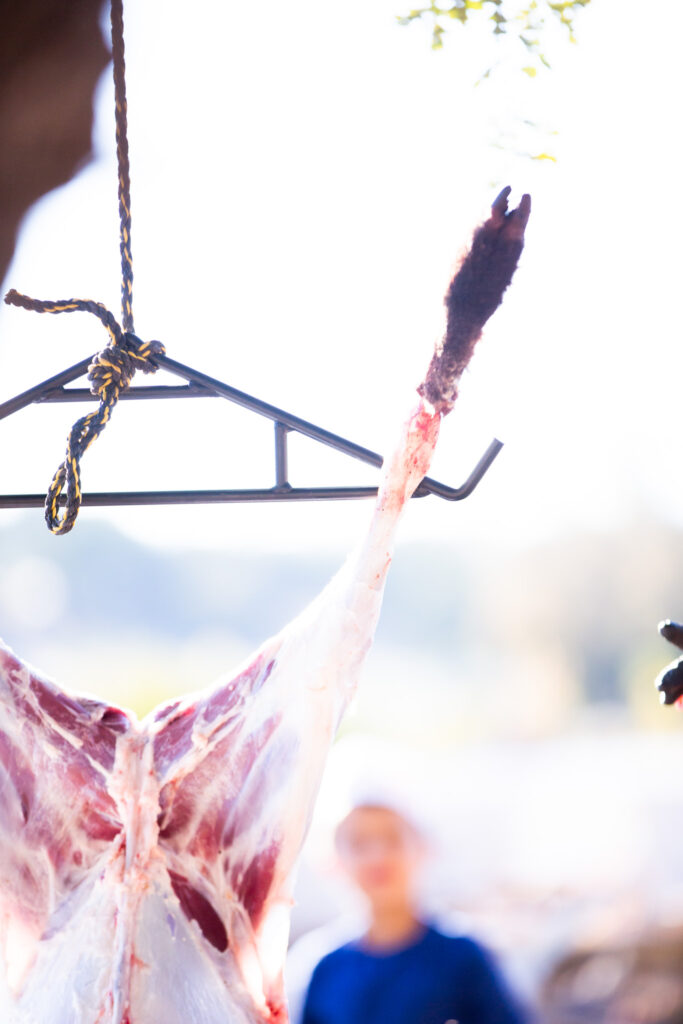
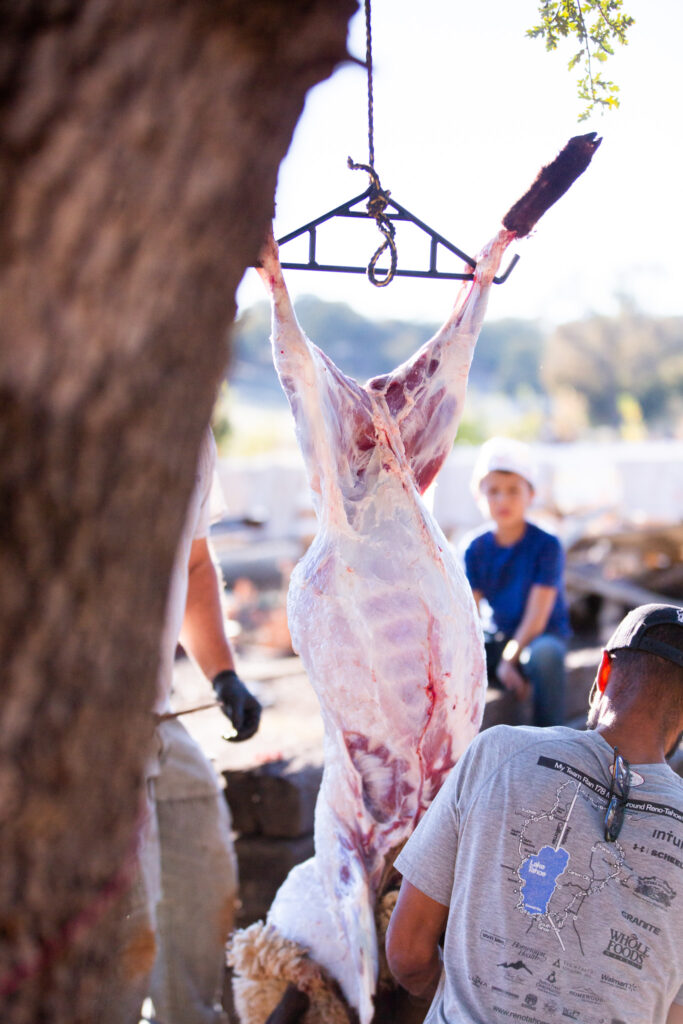
- Cold place to Hang Animal
- Gambrel
- Meat Saw
- Cutting Boards
- Freezer Packaging
- Butcher Steel
- Meat Hook (Optional)
Understand the basic anatomy for butchering at home
If you plan on butchering animals at home, especially large ones…it is incredibly important to be familiar with the various cuts of meat and where they are located. Ideally you would end up with clean, wrapped, and familiar cuts of meat that you can use in recipes.

Start with a clean, organized work area
Butchering from how is a hefty operation that can get quite messy. Starting with a clean organized workspace ensures that you are putting your best foot forward. Gather all the tools you think you will possibly need, layout a large flat work area that can be sanitized, so that you have plenty of room. That way when you get started, you won’t be running around looking for tools, or setting up more table space.
Make home butchering a community project
The very first time we butchered chickens, we got help from someone who had experience. It was definitely a community effort, since we raised the chickens at the same time as few other families, so that we can set up an assembly line butchering system. It was the perfect way to learn how to butcher, because it wasn’t too overwhelming. Since then we have diy butcherd another round of meat chickens and even turkeys!

Make Sure You Have Freezer Space Before Butchering at Home
When it gets close to butchering time, I have a freezer clean out routine that has served me well. Managing a large pantry and freezer takes some organization but is completely worth it in the end. The main thing, before butchering, is to make sure that the freezer has a few empty shelves ready to receive the meat. If you don’t yet have a separate standup or chest freezer, I would consider getting one if you are serious about raising your own meat.
Look into different packaging before butchering at home
Well before butchering day, you’ll want to plan for how you will packaged he meat. This can vary by preference and species, so there is some flexibility. If you aren’t sure yet ask what is the best way to wrap certain cuts from an experienced butcher or other homesteader. For larger animals it is common to use freezer paper, or vacuum sealed bags. For whole chicken and turkeys we use heat shrink bags. If you are breaking the chicken into cuts, vacuum sealed or freezer paper would be better.

Prepare your emotions for DIY butchering
This fact is probably one of the biggest deterrents to people wanting to butcher their own animals, and rightly so! Butchering day always feels heavy, especially because we are such a small operation and are close to our animals everyday. Though I do understand that it is tough, I do believe everyone (that chooses to eat meat) should have some part of this process. Animals raised on a homestead or small farm are getting a much better life than one that is coming from a factory farm, so keep that in mind.
How to prep for butchering day (when outsourcing)
- Get to know your butcher
- Plan how and where the animal is slaughtered
- Schedule processing time (well in advance)
- Plan what cuts of meat you want
- Prepare your freezer and schedule pick up time
- Plan for payment

Find a butcher
Look around your local area to to find a butcher that will work with you. This may take some time, since not all butchers are the same. Start with recommendations from family and friends. You could even put out a “looking for recommendations” post on instagram, to help point you in the right direction. Once you have chosen a butcher, start asking questions to get to know them before butchering day.
Get to know your butcher
Ask any questions you may have about their practices, like if they mix meat from your animal with other animals being butchered at the same time, or what is the typical turn around time. If are a wanting the non standard parts of the animal to use in other areas of your homestead this is the time to line that out and ask. You will also need to line out the plan for slaughtering.

Plan how and where the animal is slaughtered
Not all butchers will come out to your property and slaughter the animal before bringing it back for butchering. It is good to know this ahead of time so you can make appropriate accommodations. We often times work with a local butcher for our sheep, but do the slaughtering, and transporting ourselves.
Line out a time that you will drop off, or when the butchering service will come to your place. Whether you, the butcher, or a third party will be doing that slaughtering, it is generally best to do it on site because the animal will be less stressed.
Schedule processing time (well in advance)
Some butchers can have an extremely busy schedule, especially during hunting season. Plan ahead and get into the schedule when you know it will be time to take animals to harvest on your homestead. Get a date on the calendar, then call to confirm a few weeks before butchering time.
Plan what cuts of meat you want
What types of meat you get are highly personal from family to family. Simply think about what you like to eat/use the most of and go with that. Outside of what cuts of meat the butcher may ask about thickness of steaks, and how much ground beef per package you would like.
Really think about what your family eats to most of. We go through ground meat quickly because it is versatile, and easy to cook on busy evenings, so we always get more ground meats (lamb, venison, beef.)

Prepare your freezer and schedule a pick up time
Make sure your freezer has enough room for however much meat you will be bringing home. Schedule and write down the time that you will be picking your meat up.
Make sure you have funds to pay the butcher
Keep in mind that there may be a “kill fee” if you aren’t doing it yourself and a butchering fee. These are all questions you should ask when you are getting to know your butcher. It is important to know how much and what type of payment is accepted before butchering day.

How to prep for butchering day frequently asked questions (FAQ)
How long should a hog hang before butchering?
A hog should hang for at least 24 hours before sectioning into smaller cuts.
What to do before butchering chickens?
Stop feeding chickens 6-8 hours before slaughtering. Set up a butchering station and gather all the supplies needed.
Do you feed chickens before butchering?
No. Stop feeding poultry 6 to 8 hours before slaughter. Make sure they still have access to water. Fasting helps prevent contamination during processing.
Can you eat a cow right after butchering?
No. Meat is not ready to be eaten right after slaughter. Beef needs to hang for 21-24 days to age. It needs time to become tender, which happens as connective tissues within the muscle break down.
Related Articles:
Homesteading for Beginners (What You Actually Need to Know)
101 Homesteading Books you Need at Home
How to be More Self Sufficient


Fed up with the fast paced modern world, Grey & Brianna made drastic changes to live slowly and intentionally. Read more about their unlikely story back to calm. If you want to send Grey & Brianna a quick message, then visit their contact page.
Pin it for Later!


Leave a Reply